How to Optimize Images for Websites: Formats, Compression, and WebP
Images make websites more engaging, help explain products and services, and give visitors a better visual experience. But when images are not optimized properly, they can also make pages unnecessarily heavy.
A large image may take several seconds to load on a slower connection. If a page contains multiple uncompressed images, visitors may experience delays before the content becomes usable.
The solution is not to remove images or sacrifice their quality. It is to prepare them correctly before uploading them to your website.
In this guide, you’ll learn how to optimize images for websites, understand the differences between JPEG, PNG, and WebP, reduce image file sizes, and choose the right dimensions for different uses.
Why Image Optimization Matters
Every image added to a webpage contributes to the amount of data a visitor’s browser needs to download.
An image that is unnecessarily large can increase page weight, especially when several images appear on the same page.
Proper image optimization helps you:
- Reduce the amount of data browsers need to download.
- Improve image loading performance.
- Make pages more practical for visitors using slower internet connections.
- Reduce unnecessary bandwidth usage.
- Maintain a good balance between image quality and file size.
Image optimization is also relevant to website performance metrics such as Largest Contentful Paint (LCP), which measures how quickly the largest visible content element loads.
However, image compression alone does not guarantee better performance. Image dimensions, loading priority, responsive images, caching, and hosting also matter.
1. Choose the Right Image Format
Before compressing an image, decide which file format is appropriate for its purpose. Different formats are designed for different types of visual content.
JPEG (JPG)
JPEG is commonly used for photographs, product images, banners, and other images containing many colors or gradients.
It uses lossy compression, meaning some image information is discarded to reduce file size.
JPEG is a practical choice when you need photographs with a reasonable balance between visual quality and file size.
PNG
PNG is useful for graphics that require transparency, screenshots, interface elements, and images containing sharp edges or text.
It generally preserves image data through lossless compression, although the resulting files can be larger than equivalent JPEG or WebP images.
Use PNG when transparency or lossless quality is important.
WebP
WebP is a modern image format that supports both lossy and lossless compression, as well as transparency and animation.
It can produce smaller files than JPEG or PNG for many types of images, although the actual result depends on the source image and compression settings.
WebP is a strong option for website photographs, product images, and graphics.
Which format should you use?
| Image type | Suitable format |
|---|---|
| Product photographs | WebP or JPEG |
| Blog featured images | WebP or JPEG |
| Transparent logos | PNG or WebP |
| Screenshots | PNG or WebP |
| Photographs with smaller file sizes | WebP or JPEG |
| Graphics requiring transparency | PNG or WebP |
There is no single format that is best for every image. Choose based on the content, transparency requirements, quality, and compatibility needs.
2. Compress Images Without Losing Too Much Quality
Image compression reduces file size by removing or representing image information more efficiently.
The goal is to reduce unnecessary data while keeping the image visually suitable for its purpose.
For example, a product image displayed at 700 pixels wide does not necessarily need to be uploaded as a 4000-pixel-wide original.
You can start by using an image compression tool:
A simple image compression workflow:
- Select the original image from your device.
- Upload it to the image compressor.
- Adjust the compression level if the tool provides that option.
- Compare the result with the original image.
- Download the compressed version.
- Check that important details remain clear before publishing it.
Avoid applying excessive compression to product photographs, logos, or images containing small text. A smaller file is not useful if the visual quality becomes noticeably worse.
3. Convert Images to WebP
If your website contains many JPEG or PNG images, converting suitable files to WebP can help reduce their size.
The conversion process changes the image format. It does not automatically guarantee a smaller file, so compare the original and converted versions before replacing anything.
You can use these free tools:
A practical workflow is:
- Select a JPEG or PNG image.
- Upload it to the appropriate converter.
- Convert it into WebP.
- Compare file sizes and visual quality.
- Download the converted image.
- Upload it to your website and update the image reference where necessary.
If you are replacing images already used on a live website, check that the new file path is correctly updated and that existing pages do not display broken images.
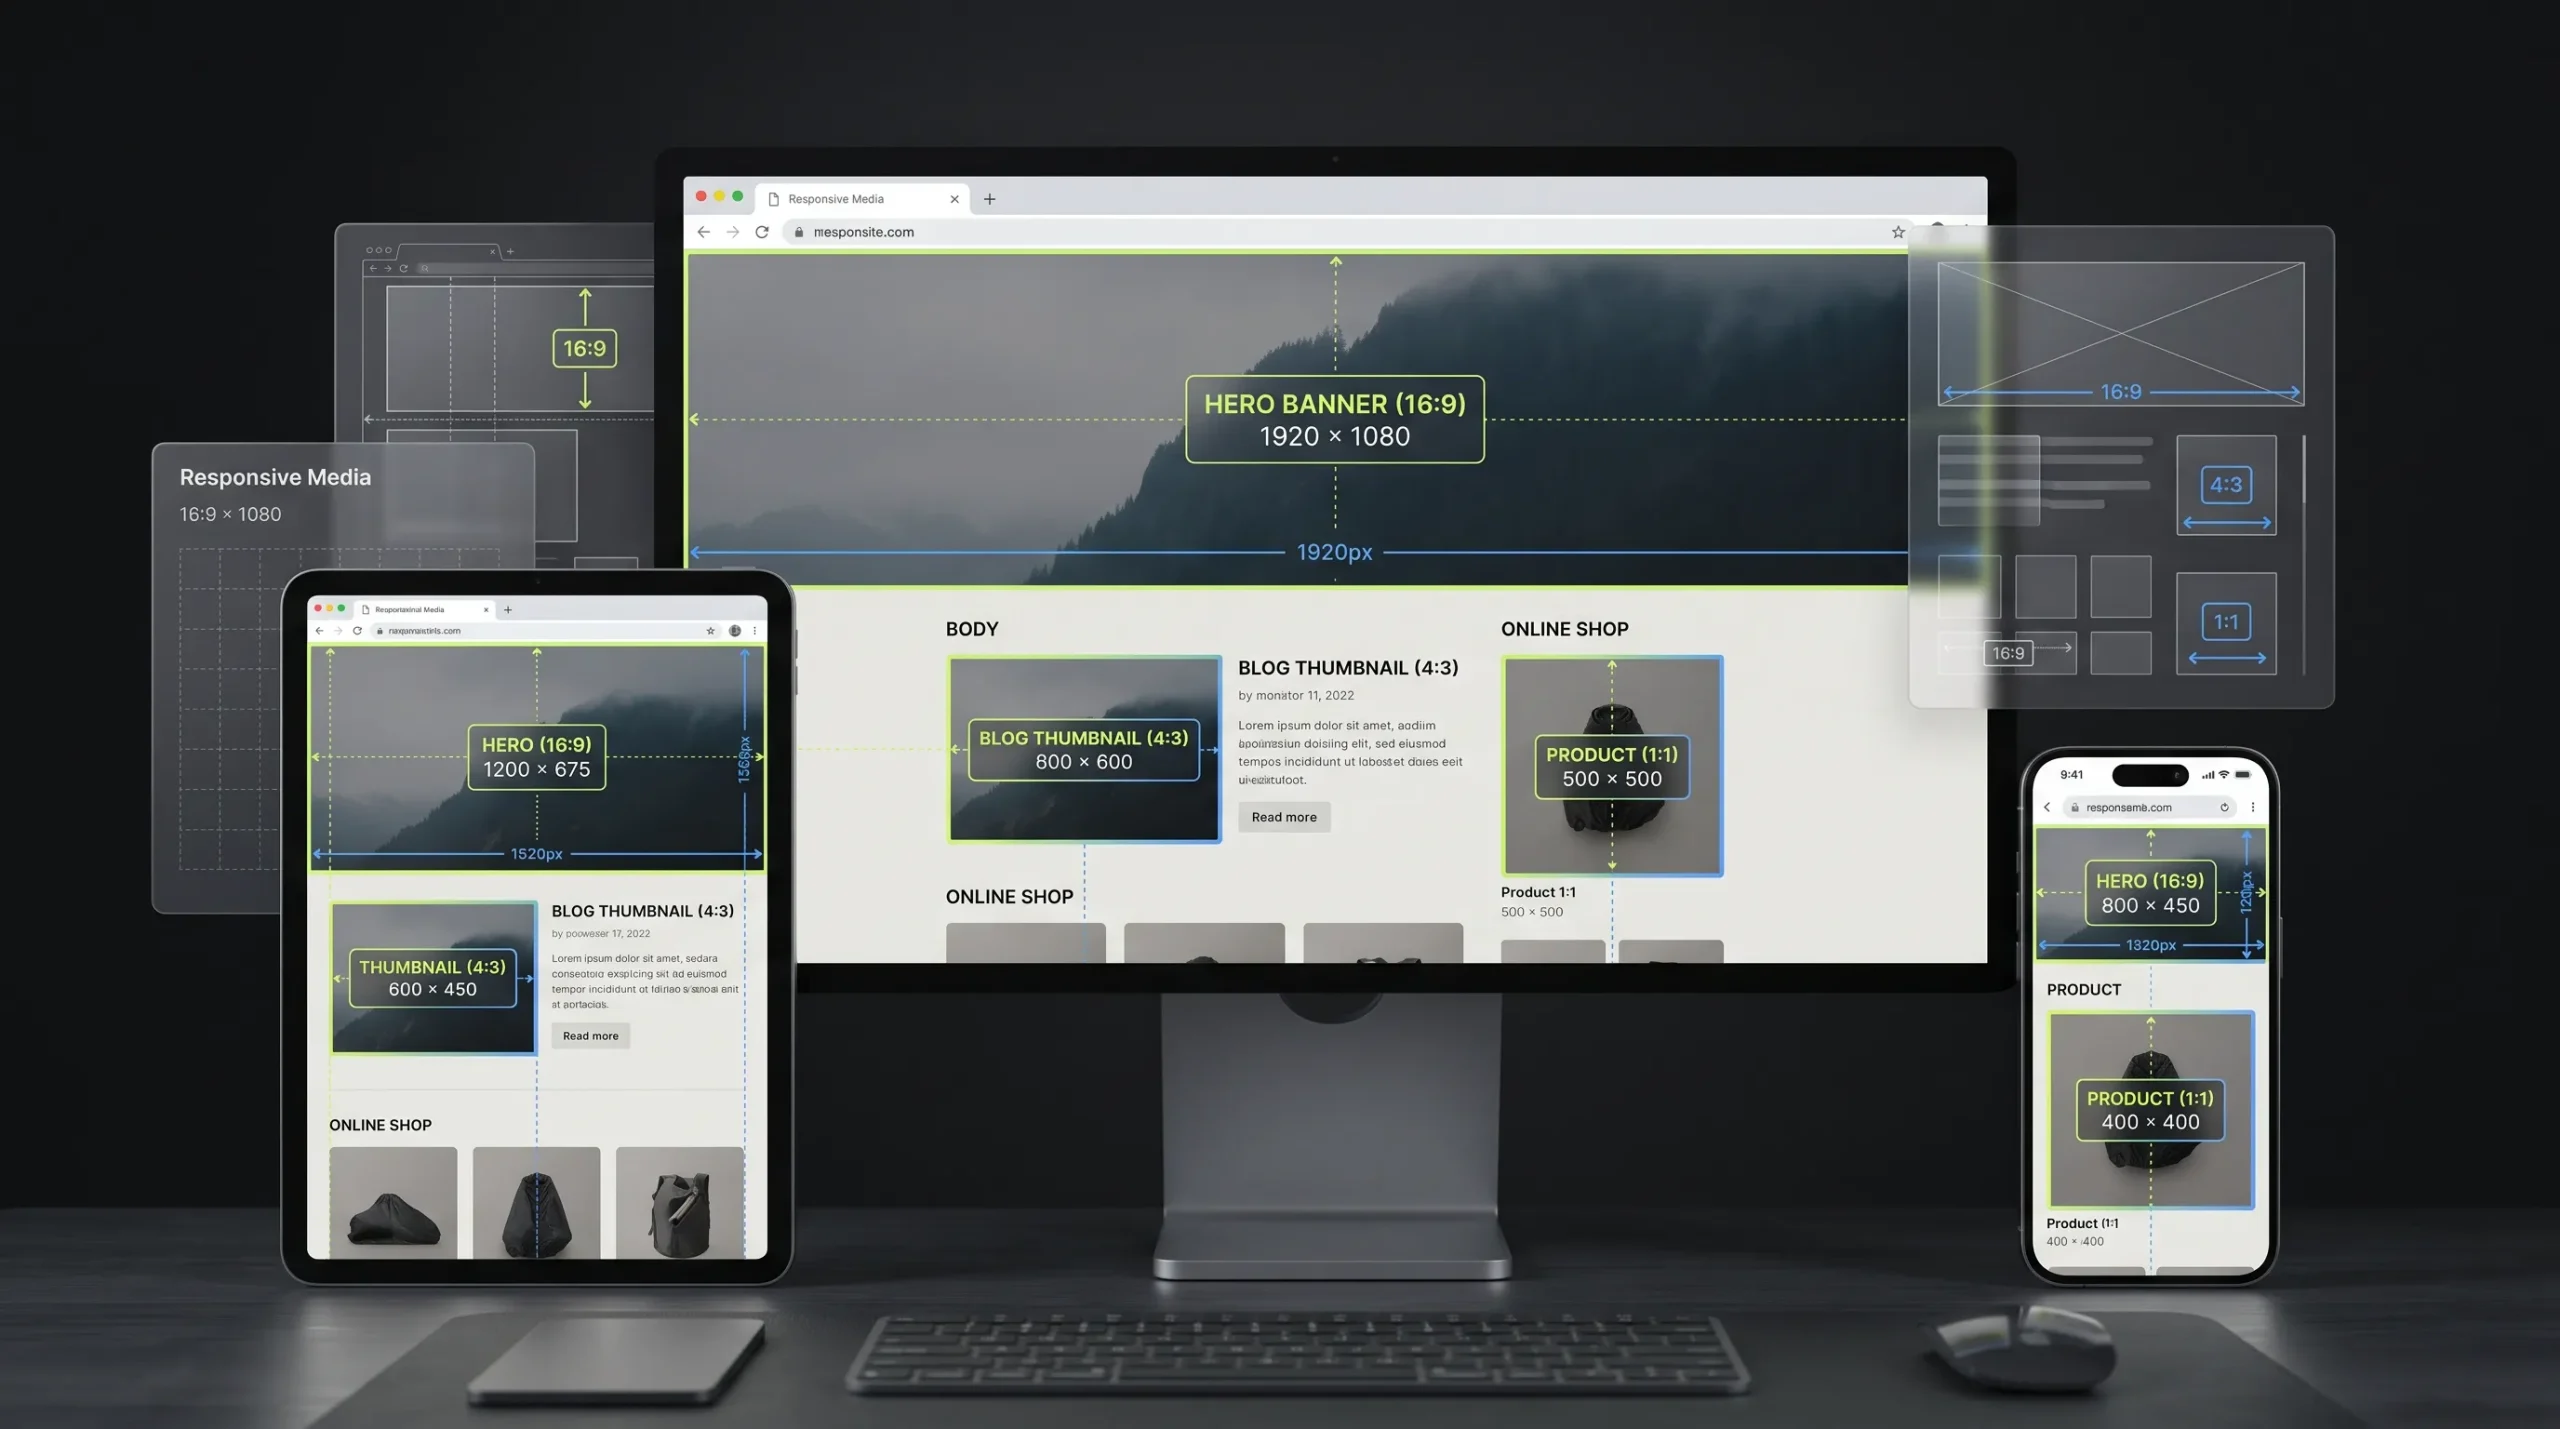
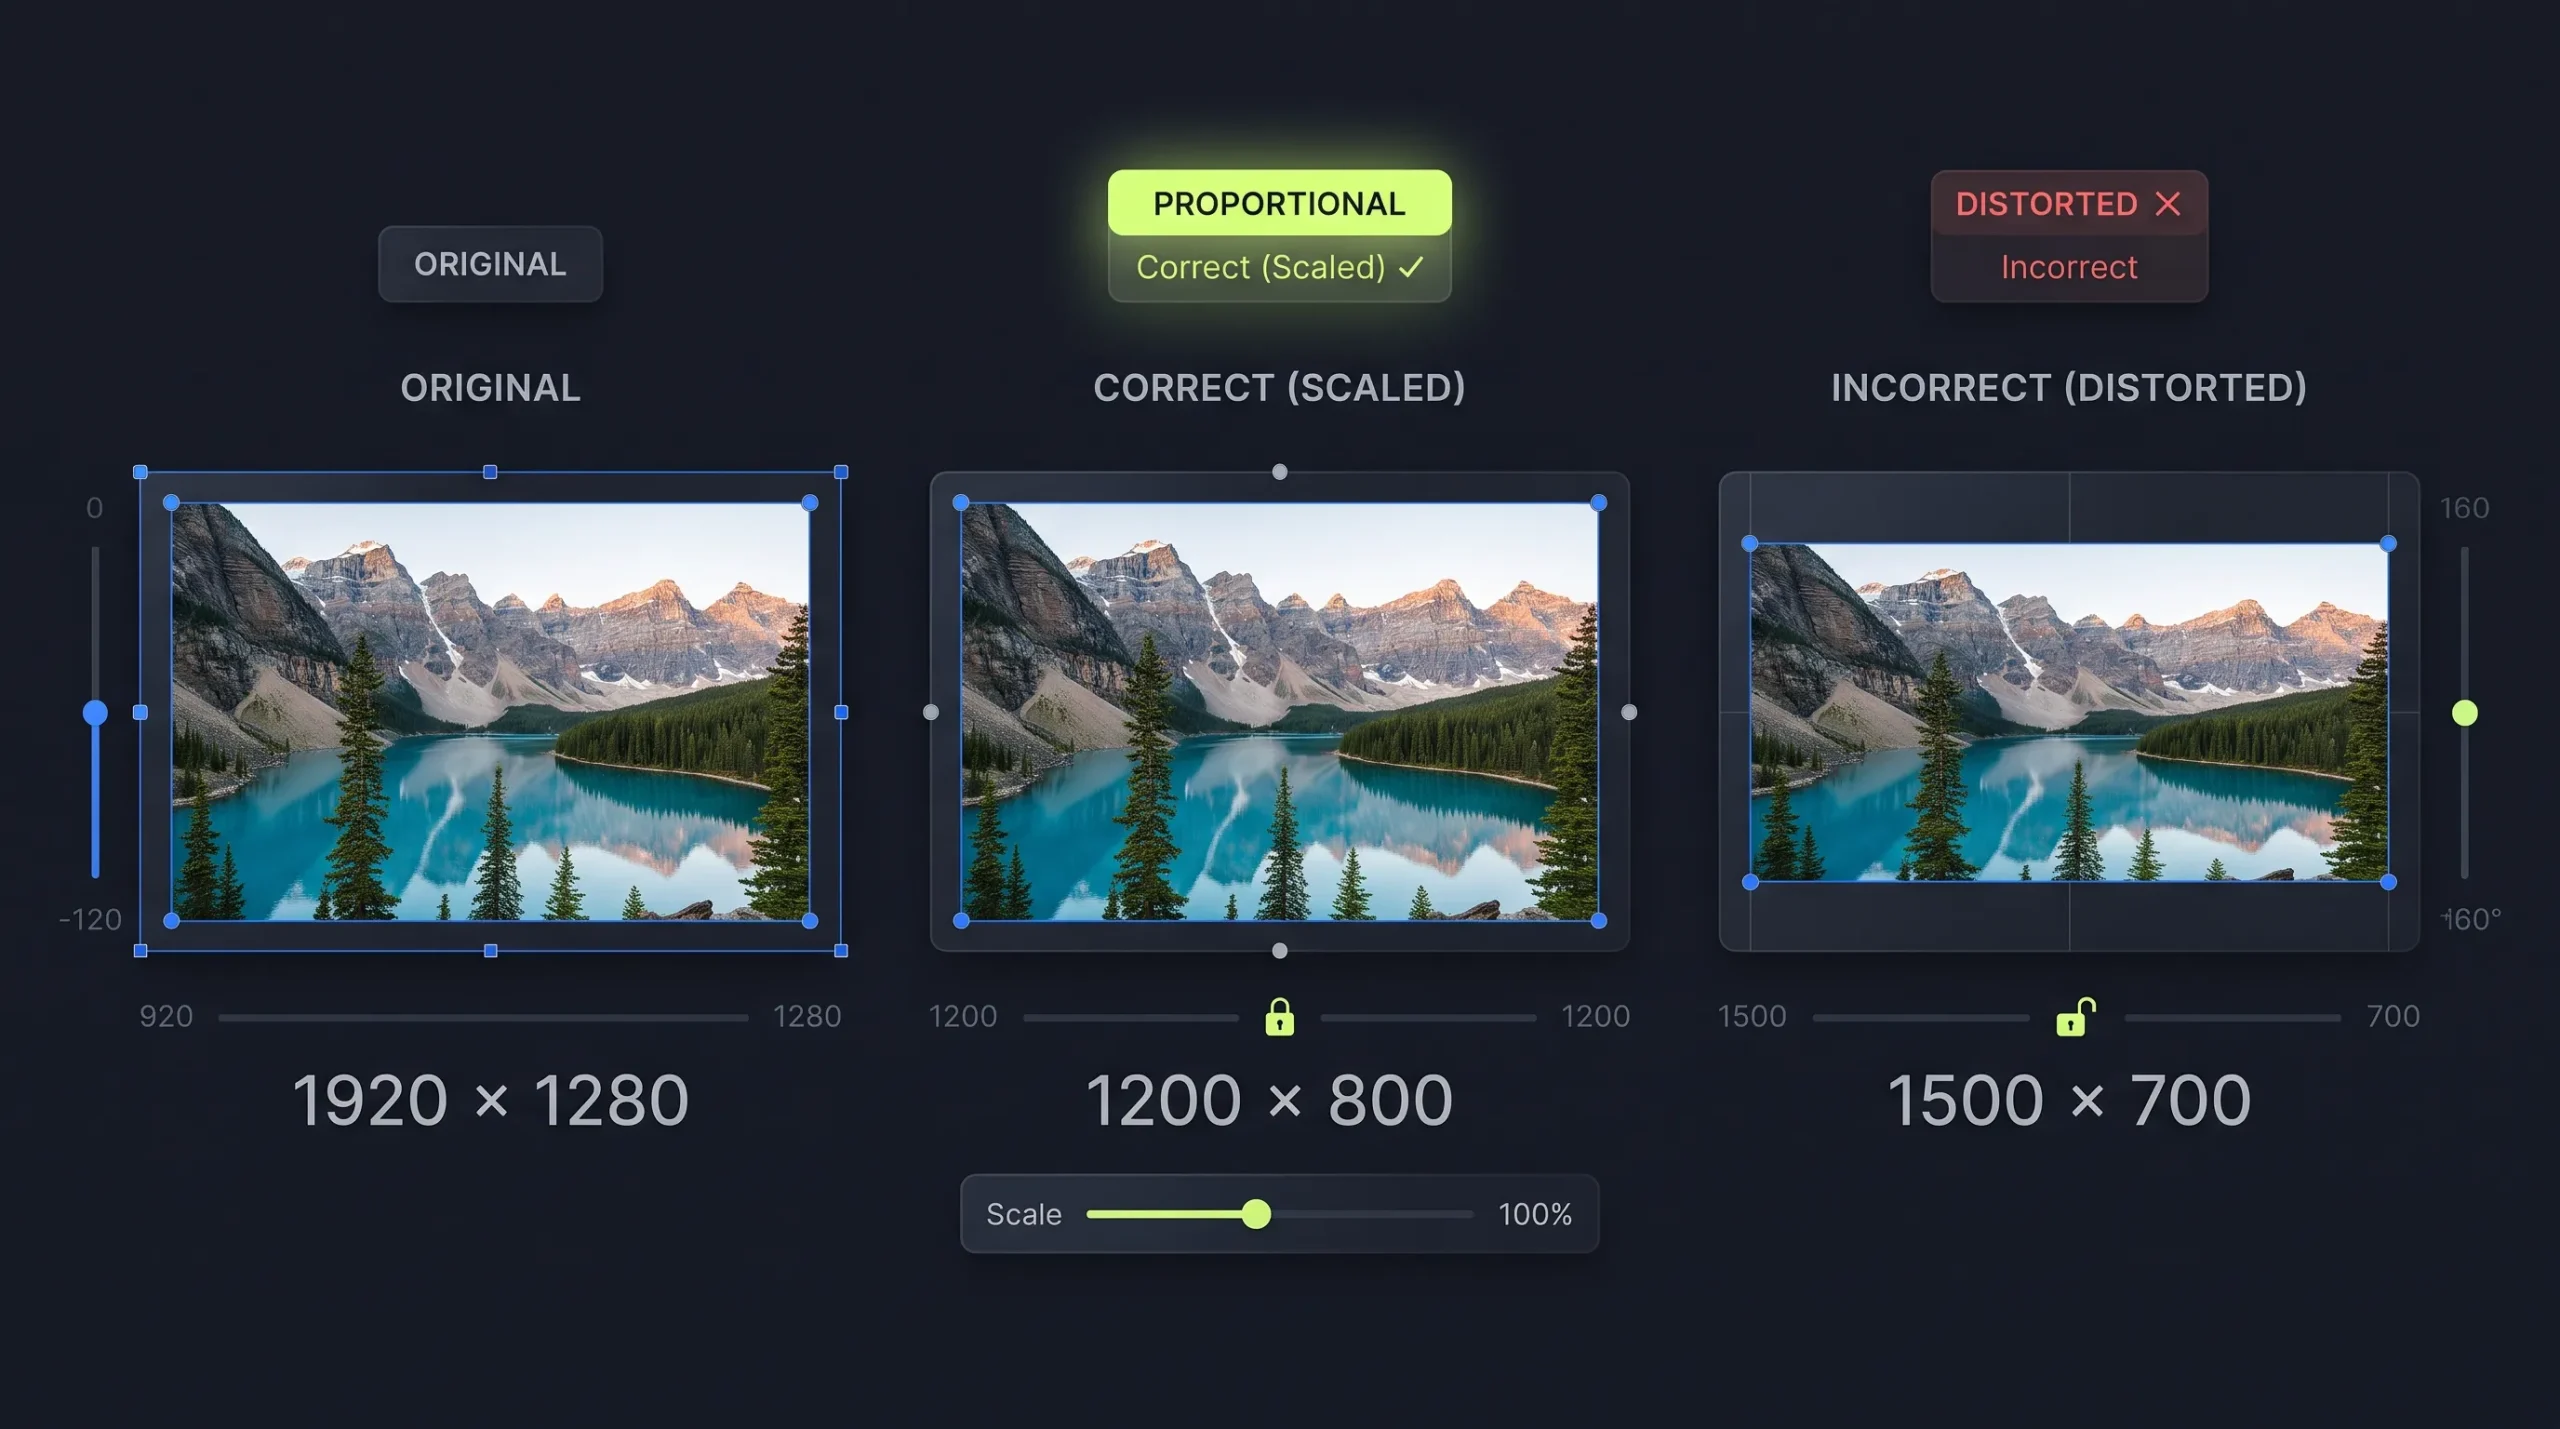
4. Resize Images to Their Actual Display Dimensions
One common image optimization mistake is uploading images that are much larger than their displayed size.
Imagine a blog layout displaying an image at approximately 800 pixels wide. Uploading a 4000-pixel-wide image may result in unnecessary data being downloaded, depending on how the website serves that image.
Resizing an image before uploading it can help avoid this problem.
Use the Online Image Resizer to prepare images for their intended dimensions.
Consider these examples as starting points, not universal requirements:
| Image placement | Example dimensions |
|---|---|
| Blog featured image | 1200 × 630 px |
| Article content image | 1200 × 800 px |
| Product thumbnail | 600 × 600 px |
| Website banner | 1600 × 600 px |
| Small profile image | 400 × 400 px |
Always check your website’s actual image layout before selecting dimensions. A theme, page builder, or responsive design may use different sizes.
5. Use Responsive Images
A website is accessed through different screen sizes, from mobile phones to large desktop displays.
Serving the same oversized image to every device can waste bandwidth.
HTML provides responsive image features that allow browsers to select an appropriate image source.
For example:
<img
  src="product-800.webp"
  srcset="
    product-400.webp 400w,
    product-800.webp 800w,
    product-1200.webp 1200w
  "
  sizes="(max-width: 600px) 100vw, 800px"
  alt="Product displayed on a clean background"
  width="800"
  height="800"
>
The srcset attribute provides multiple image options, while sizes helps the browser determine which resource is appropriate for the layout.
This is particularly useful for product galleries, blog images, and image-heavy landing pages.
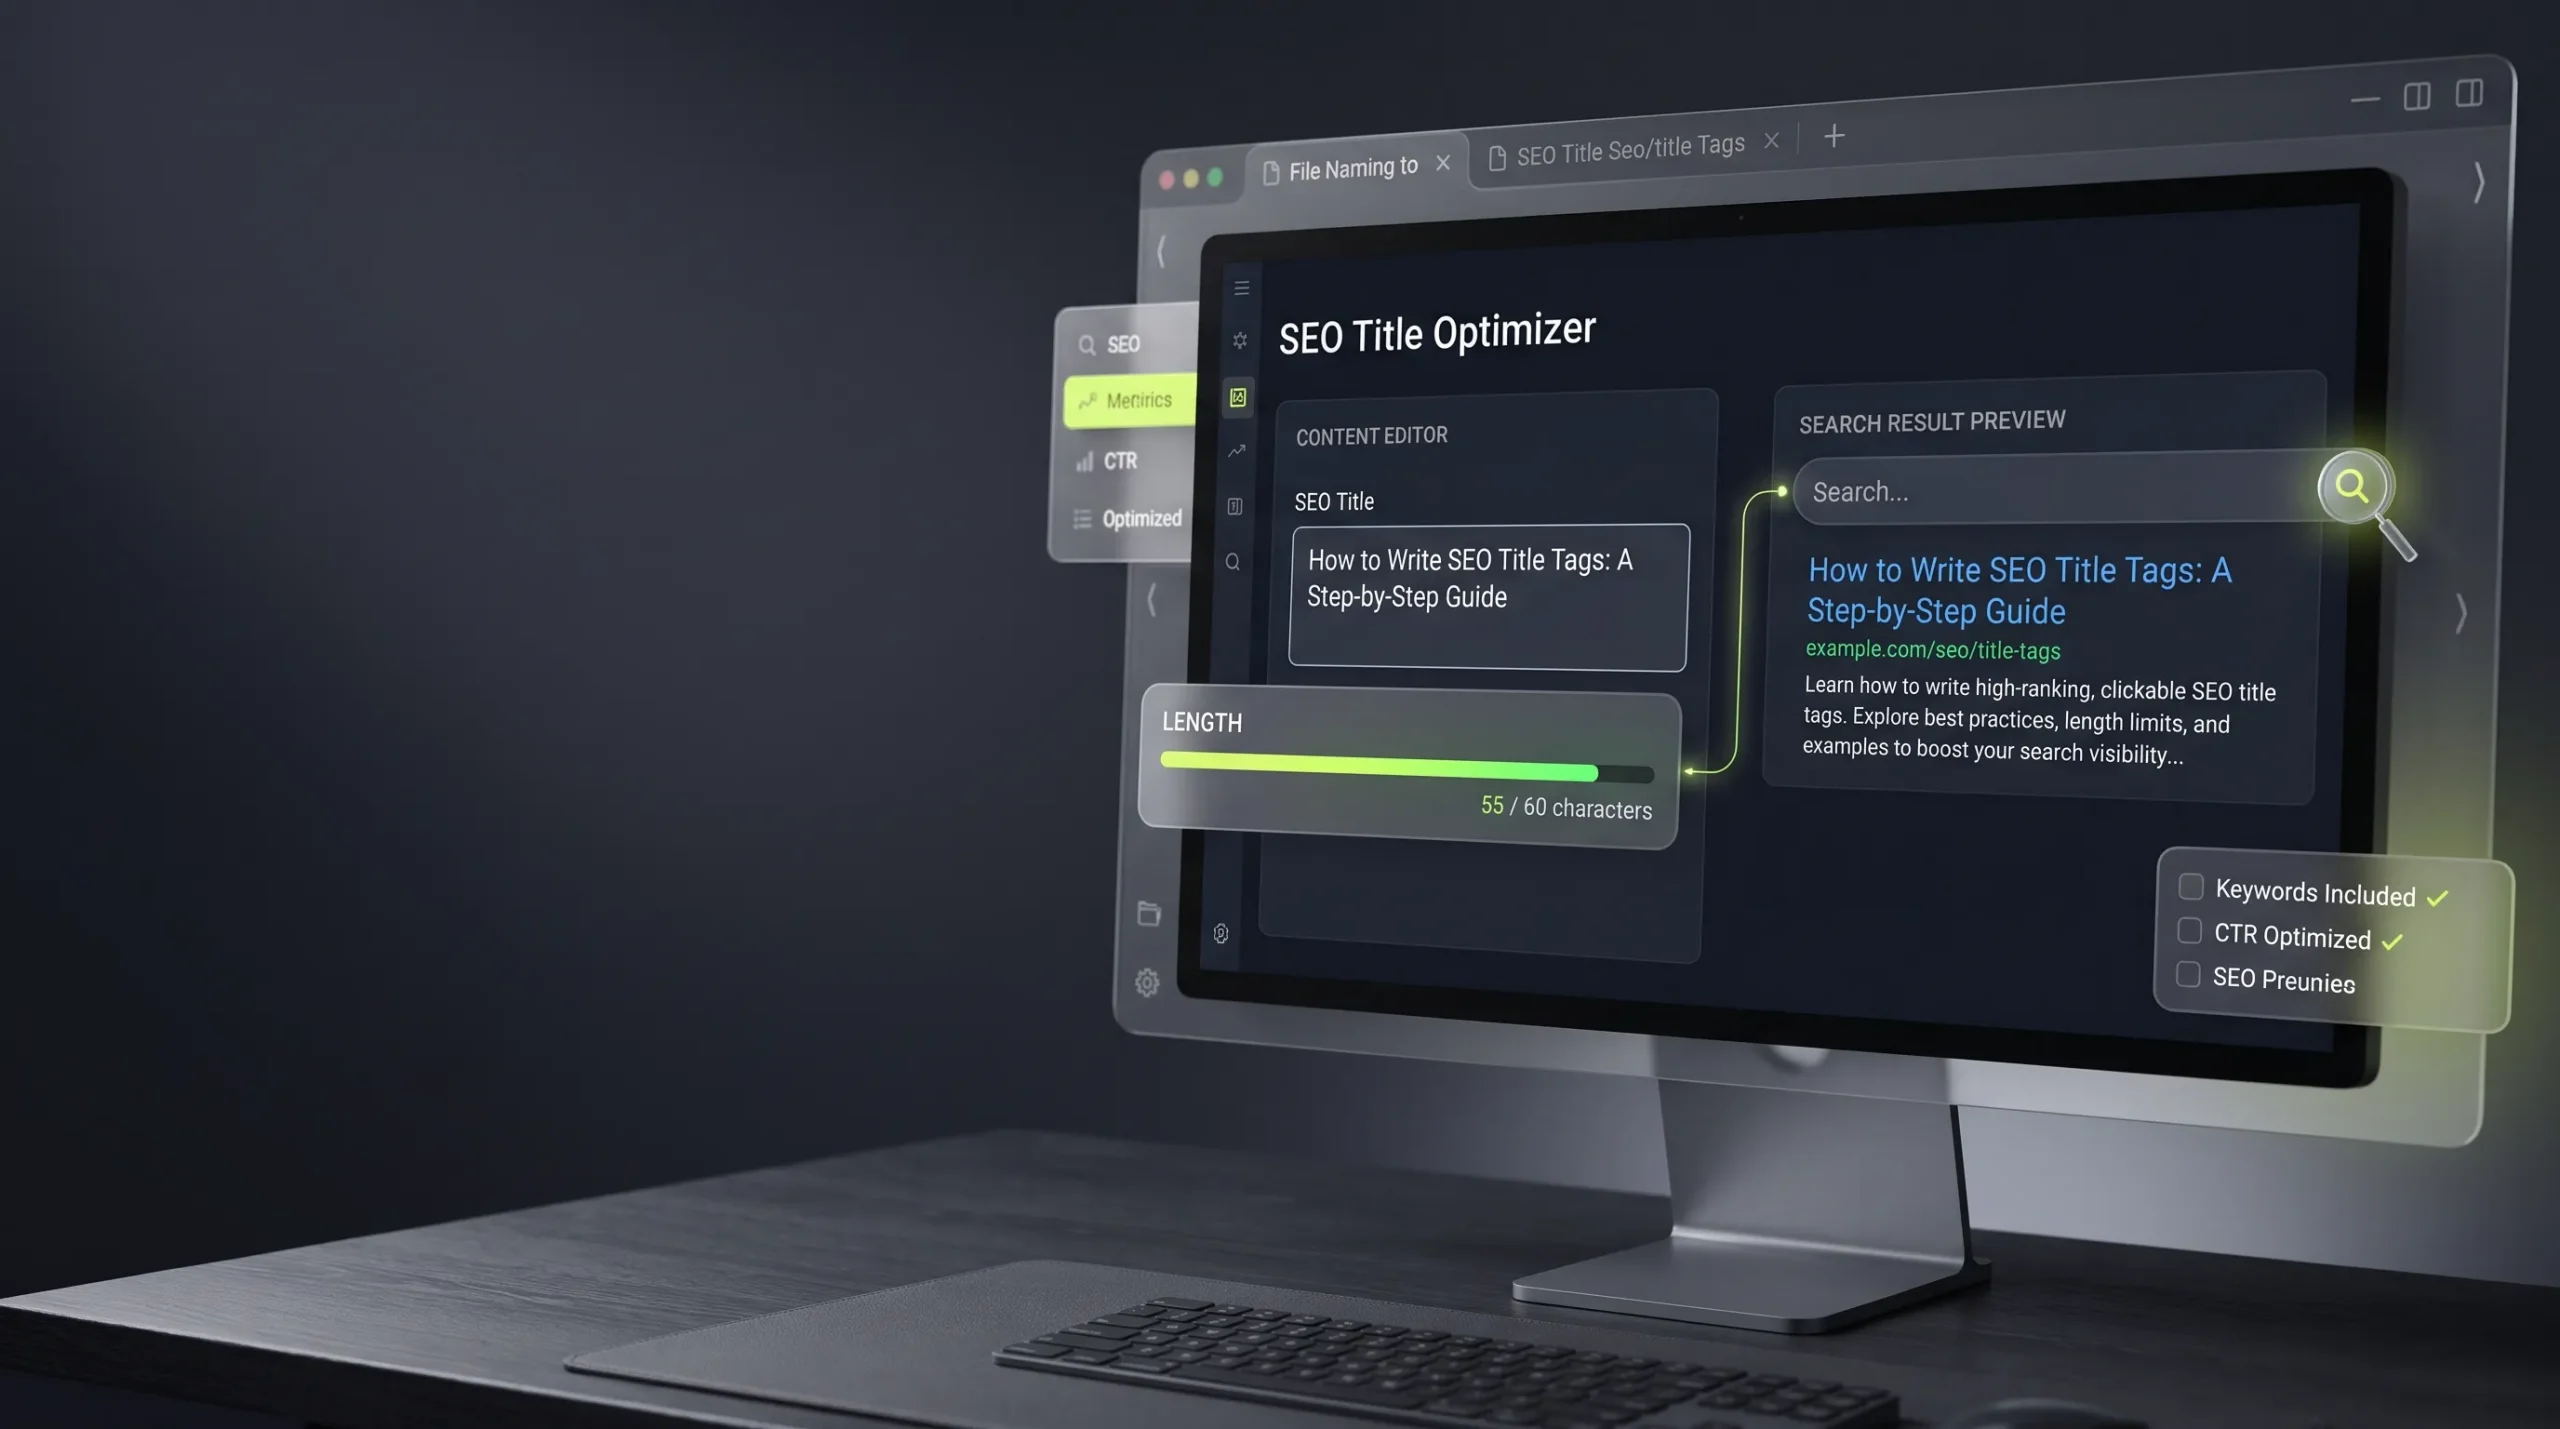
6. Add Descriptive Alt Text
Alt text describes the content or purpose of an image.
It helps people using screen readers understand meaningful visual content and gives search engines additional context about images.
For example, instead of:
alt="image123"
Use:
alt="Gold tulip bracelet displayed on a white background"
Write alt text that accurately describes the image. Avoid filling it with unrelated keywords or repeating the same description across every image.
Decorative images that do not add meaningful information can use an empty alt attribute:
<img src="decorative-shape.webp" alt="">This prevents screen readers from announcing unnecessary visual details.
7. Use Lazy Loading Where Appropriate
Lazy loading allows a browser to delay downloading certain images until they are closer to entering the visible area.
It can be useful for images further down a long article or product listing.
For example:
<img
  src="article-image.webp"
  alt="Website image optimization example"
  loading="lazy"
  width="800"
  height="533"
>
However, do not automatically lazy-load every image.
An important image visible immediately when a page opens, especially the main LCP image, should generally not be lazy-loaded. It may need to be prioritized instead.
For suitable below-the-fold images, native lazy loading is a straightforward option.
8. Check Your Images Before Publishing
Before uploading images to a live website, use a simple checklist:
- Is the image in a suitable format?
- Are its dimensions appropriate for the layout?
- Has it been compressed where appropriate?
- Does it retain acceptable visual quality?
- Does it have meaningful alt text when needed?
- Is the image file name descriptive?
- Are width and height attributes defined?
- Is lazy loading being used appropriately?
- Does the image display correctly on mobile?
You can also use browser developer tools and performance testing services to investigate image loading issues after publishing.
For a broader understanding of website performance, see Google’s PageSpeed Insights.
Common Image Optimization Mistakes
Even when using modern image formats, some mistakes can make image delivery less efficient.
Uploading original camera images directly
Camera photographs can have very large dimensions and file sizes. Resize and compress them according to their intended use.
Converting everything to WebP without checking
WebP is useful, but conversion does not guarantee a smaller file in every situation. Compare the results.
Using low-quality compression
Aggressive compression can create visible artifacts, blurry details, and poor-looking product images.
Lazy-loading the main visible image
Delaying an important above-the-fold image can negatively affect loading performance. Use lazy loading selectively.
Ignoring mobile layouts
An image designed for a large desktop screen may be unnecessarily heavy for a small mobile display. Consider responsive image delivery.
Frequently Asked Questions
Does WebP improve website loading speed?
WebP can reduce image file sizes compared with equivalent JPEG or PNG images in many situations. Smaller image downloads can contribute to better loading performance, but the overall result also depends on dimensions, hosting, caching, and page structure.
Is WebP better than JPEG?
WebP often provides better compression efficiency, but JPEG remains a widely used and practical format. Compare the visual quality and file size of both formats for your particular image.
Should I convert all PNG images to WebP?
Not automatically. WebP supports transparency, making it suitable for many PNG use cases. However, check the converted image carefully, especially when it contains text, sharp edges, or transparent areas.
What is the ideal image size for a website?
There is no universal ideal size. It depends on where the image appears, its display dimensions, and the quality required. Resize images according to their actual use instead of uploading unnecessarily large originals.
Does image compression affect image quality?
Lossy compression can reduce image quality because some visual information is discarded. The amount of visible change depends on the compression settings and image content. Lossless compression preserves the original image information.
Can image optimization improve SEO?
Optimized images can support a better user experience and contribute to page performance. Descriptive alt text also improves accessibility and helps search engines understand image content. However, image optimization alone does not guarantee higher search rankings.
Final Thoughts
Image optimization is not just about converting files into smaller formats. It involves choosing the right format, preparing appropriate dimensions, balancing compression with visual quality, and delivering images efficiently across different devices.
If you manage a blog, business website, online store, or portfolio, making these checks part of your publishing process can help keep your pages lighter and your images useful.
You can start by compressing your existing images, converting suitable JPEG and PNG files to WebP, and resizing oversized uploads before publishing them.
Explore the free image tools on The Awais Ali to prepare your images for the web.