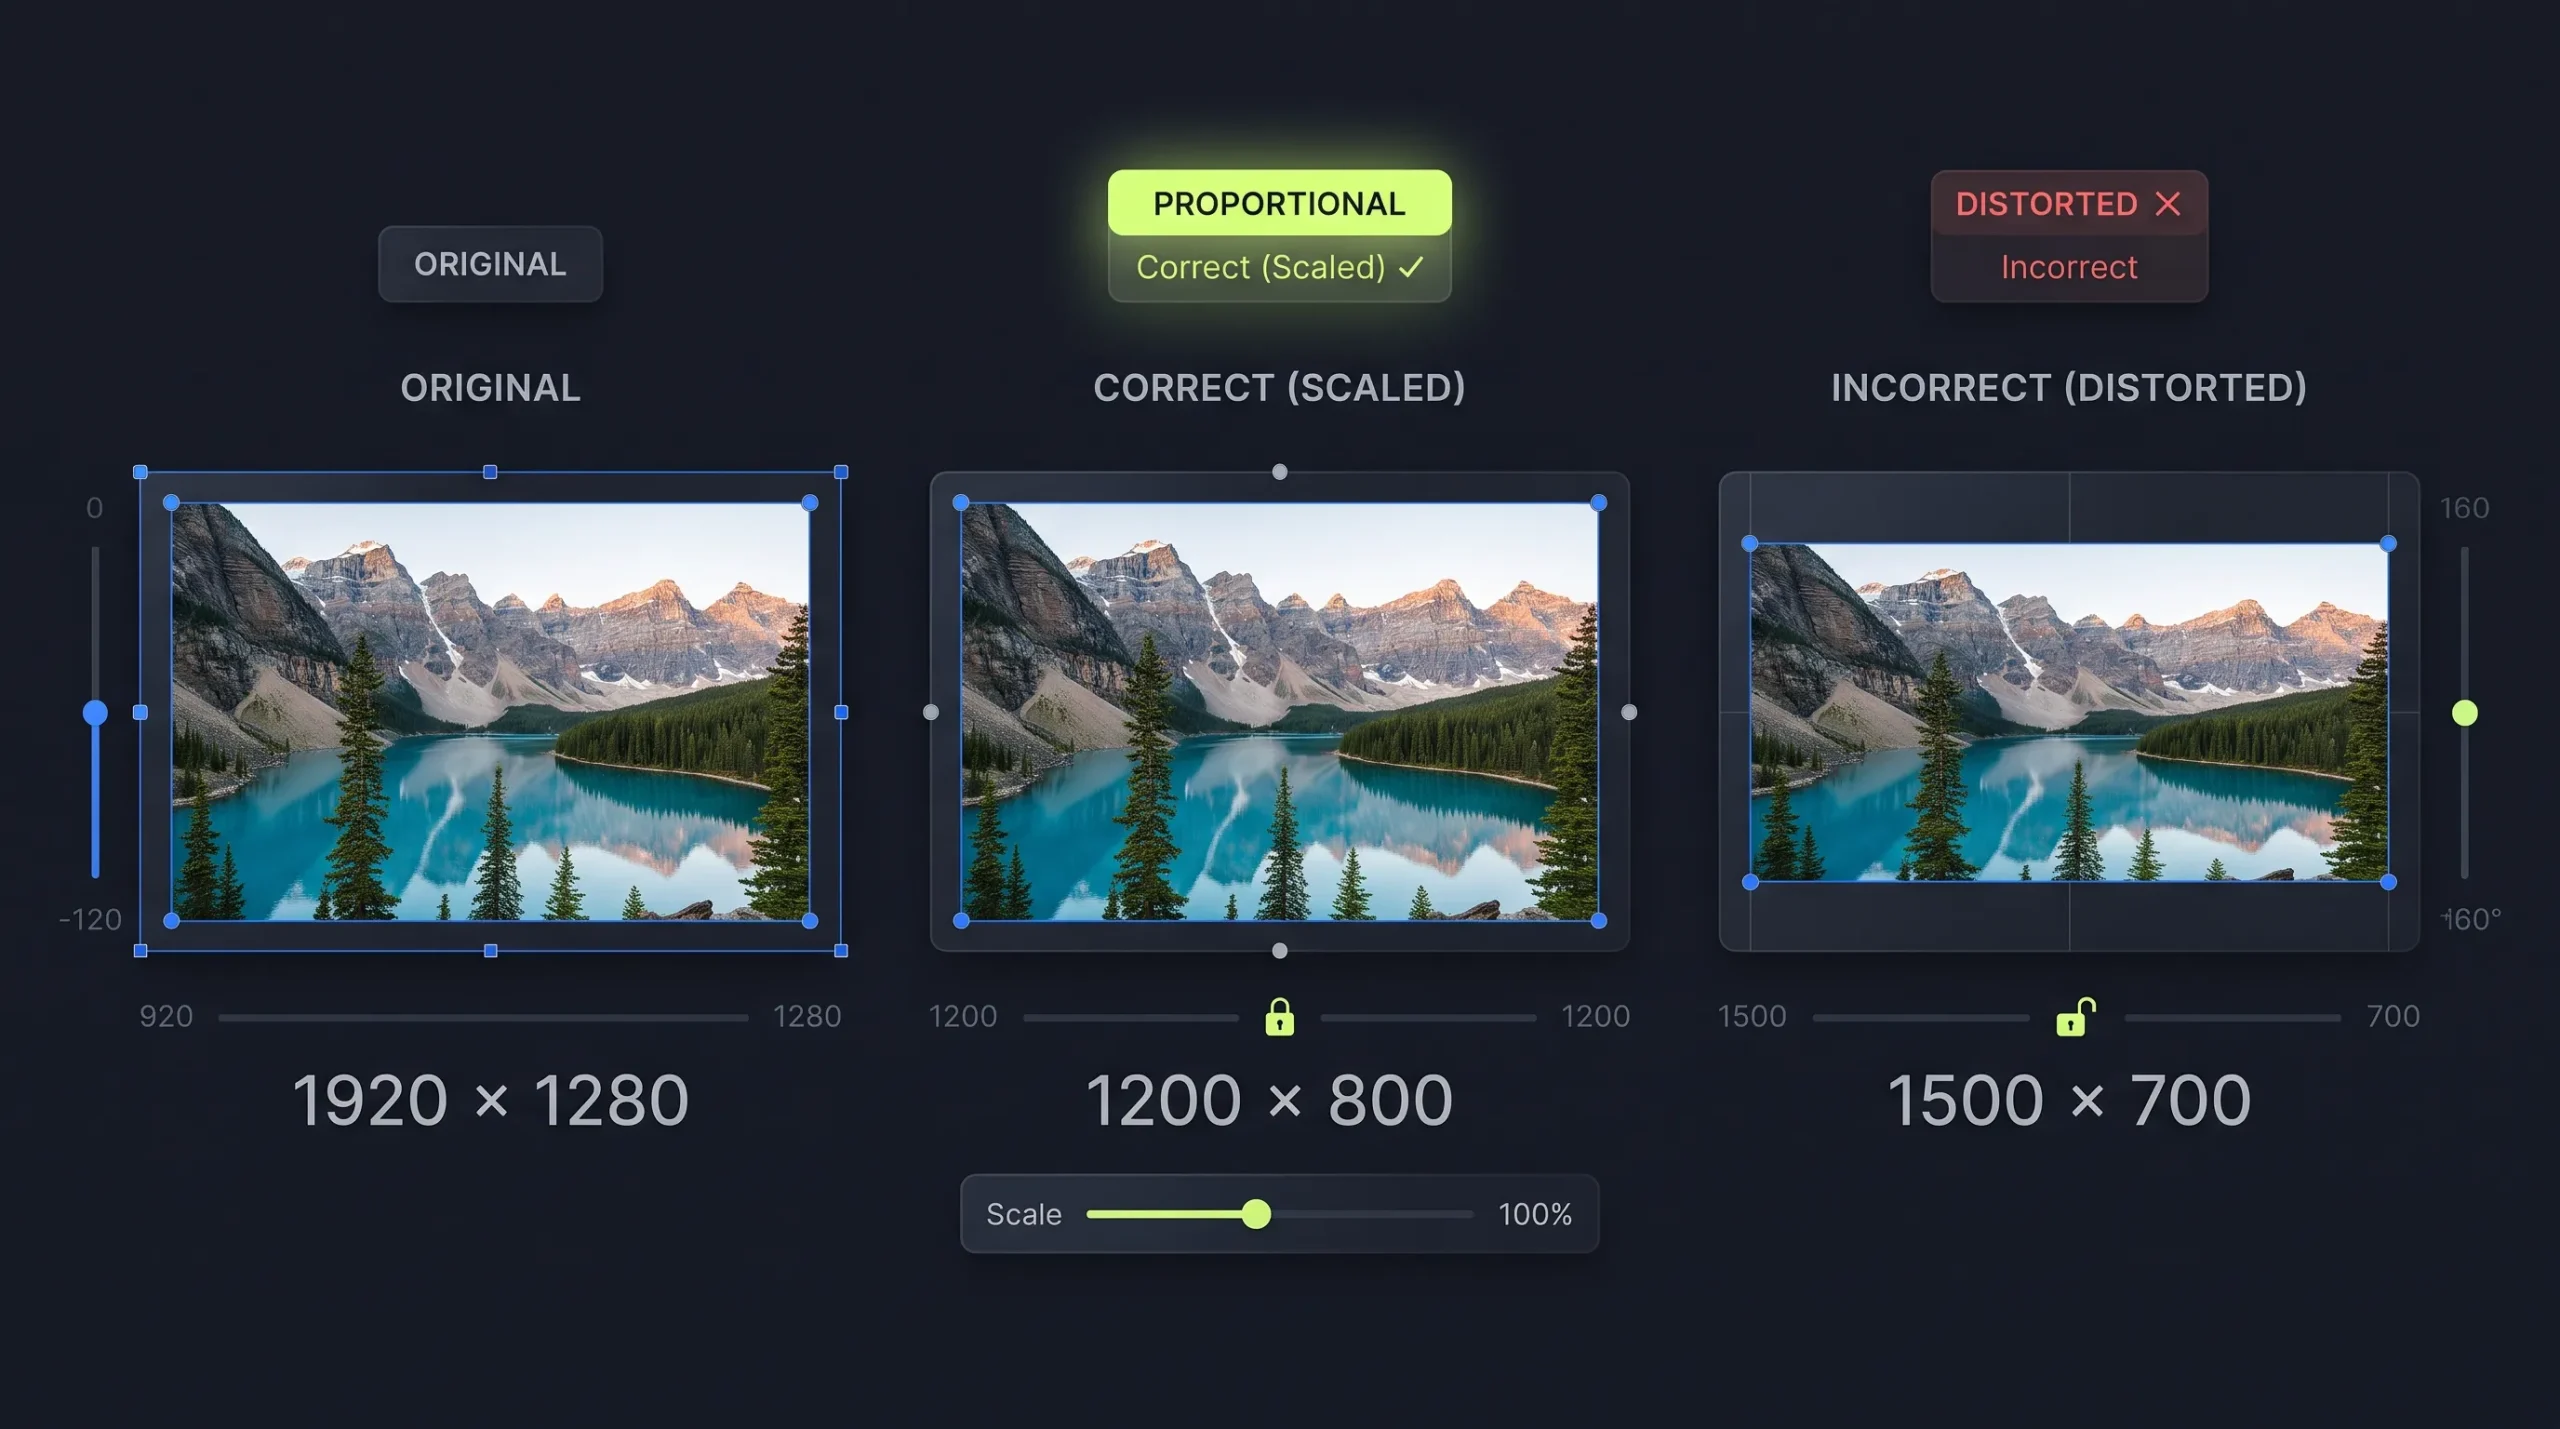
Have you ever uploaded a photograph to a website and noticed that the subject suddenly looks wider, thinner, or strangely distorted?
This usually happens when an image’s width and height are changed independently.
Resizing should change an image’s dimensions, not its proportions. To do that correctly, you need to understand aspect ratio, cropping, and the difference between scaling and stretching.
Why Do Images Look Stretched After Resizing?
Every image has a width-to-height relationship called its aspect ratio.
For example, an image that is 1200 pixels wide and 800 pixels high has an aspect ratio of 3:2.
If you change its dimensions to 1200 × 1200 without cropping, the image has to be distorted to fill the new shape.
That is why people, products, and objects can look unnaturally wide or narrow.
What Is Aspect Ratio?
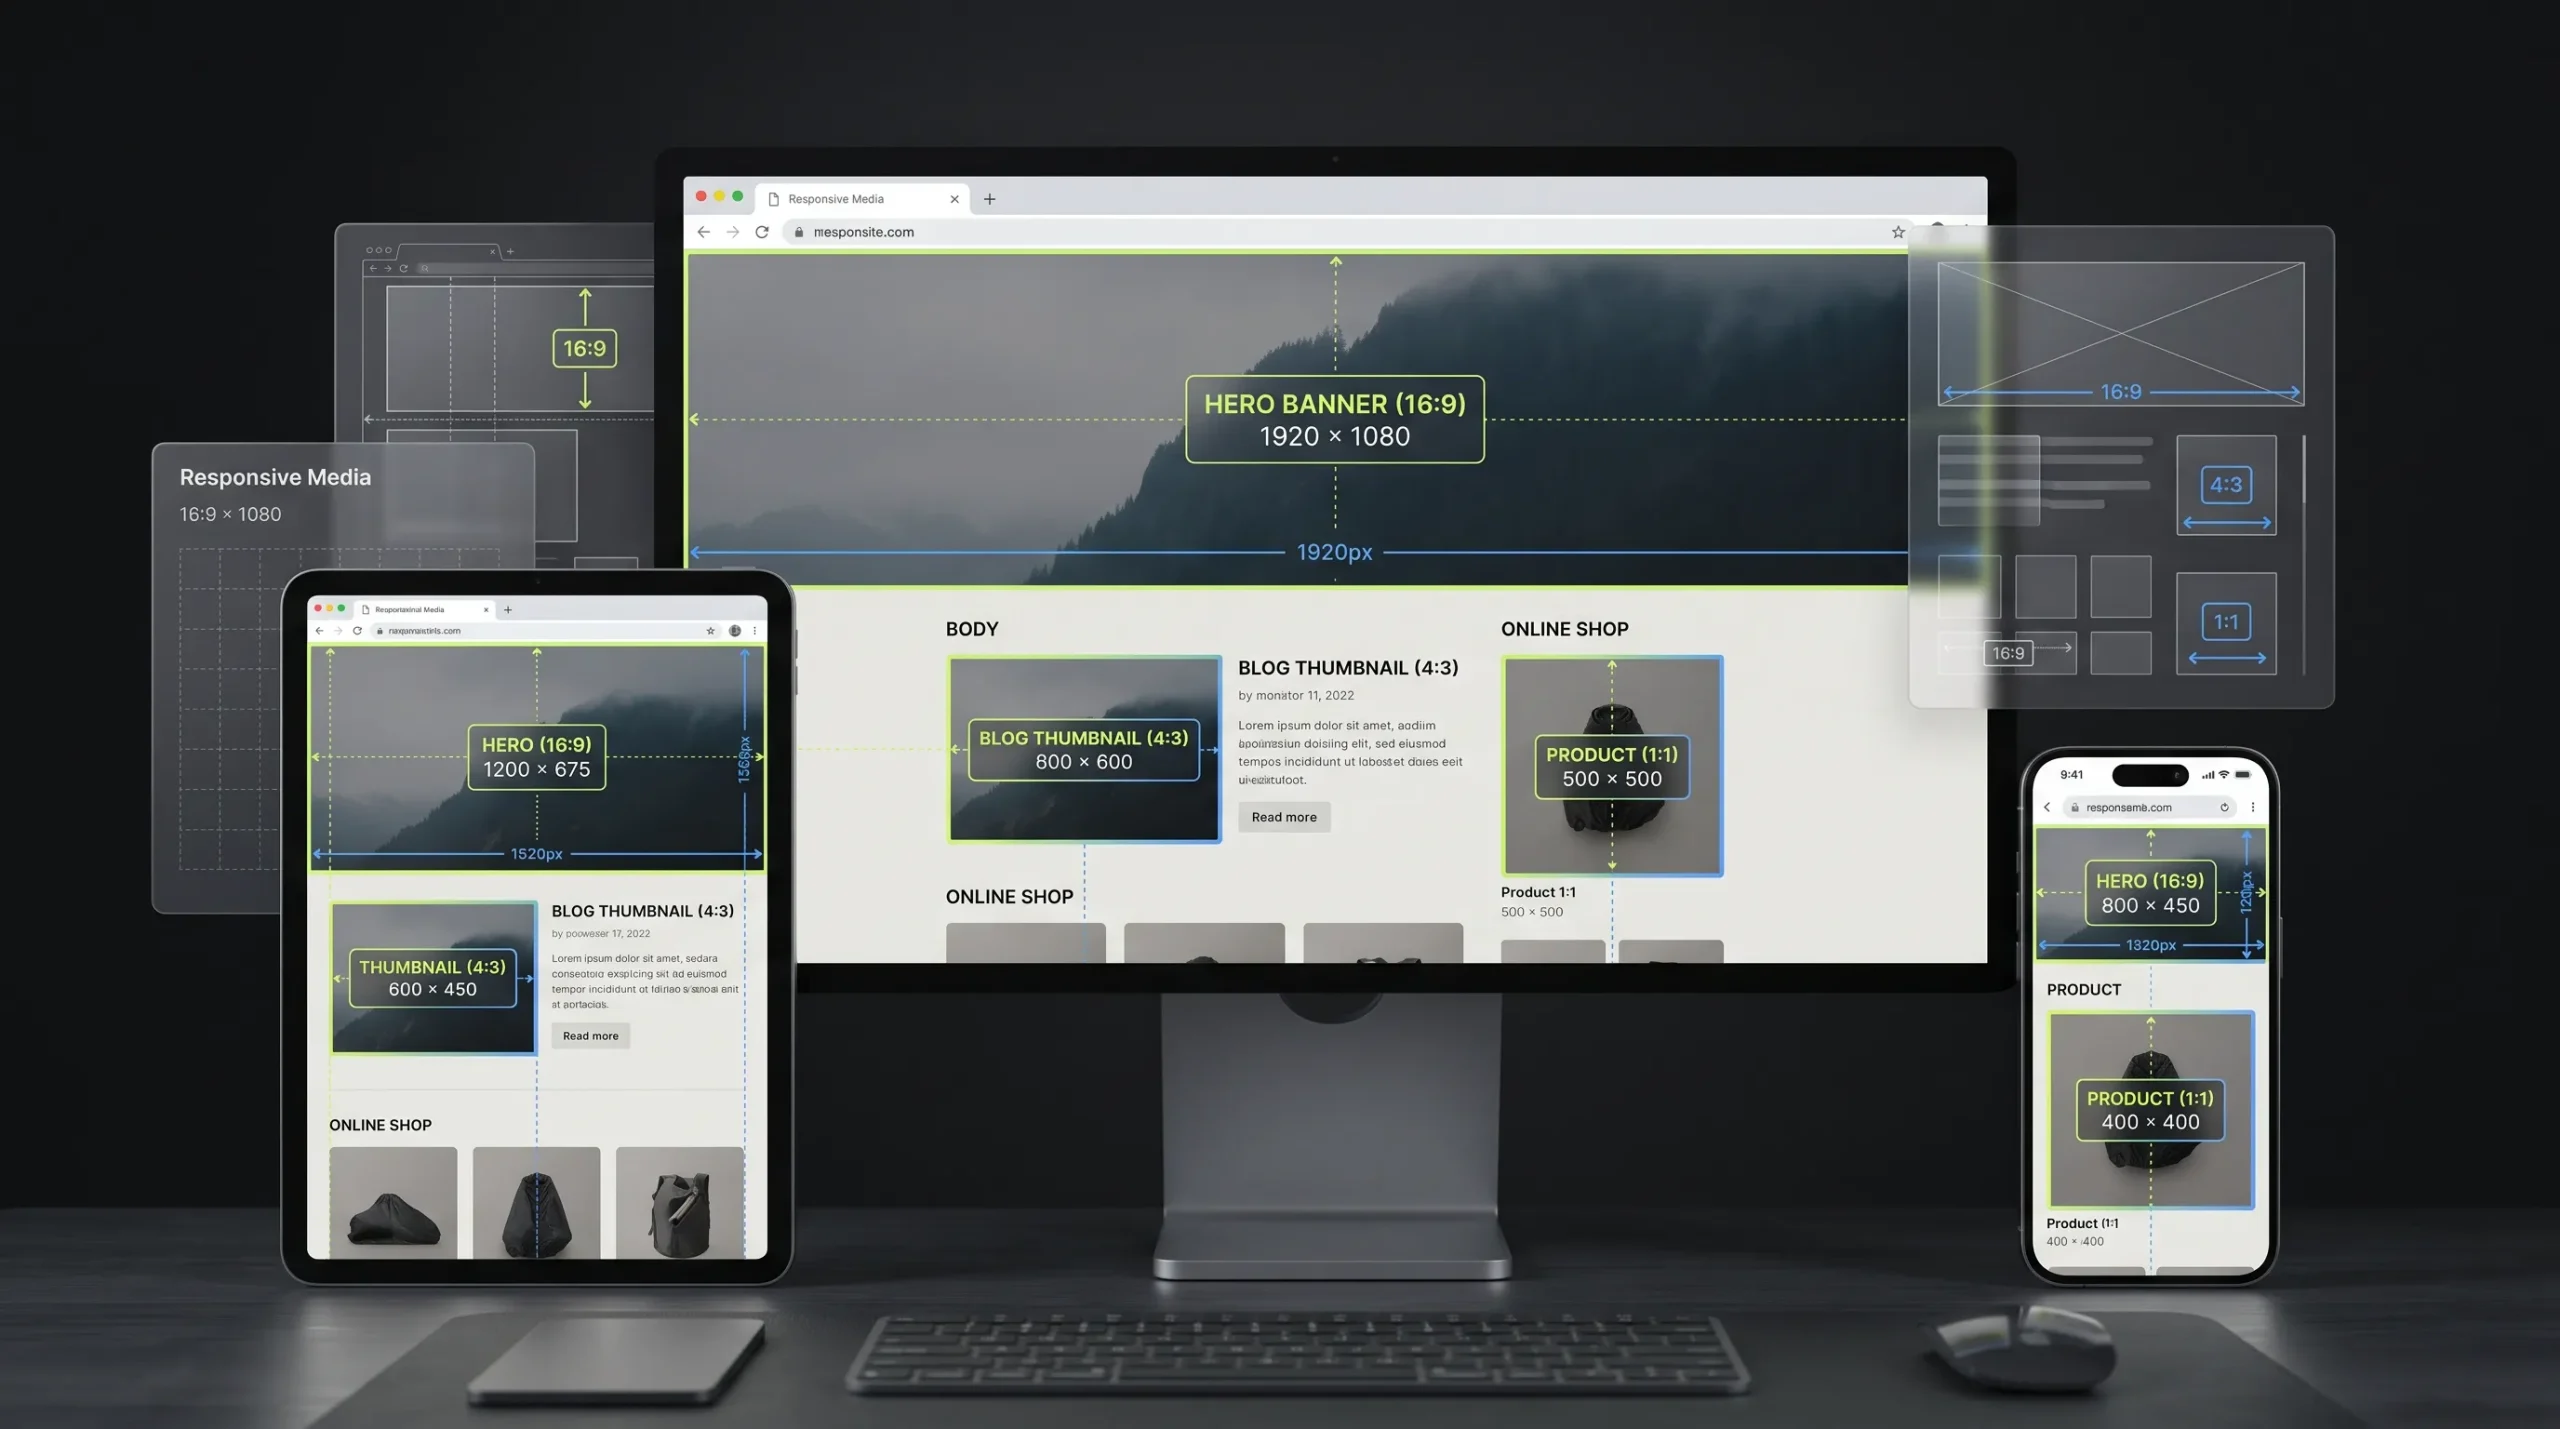
Aspect ratio describes the proportional relationship between an image’s width and height.
Common examples include:
| Aspect ratio | Example dimensions | Typical use |
|---|---|---|
| 1:1 | 1000 × 1000 | Square product or social images |
| 3:2 | 1200 × 800 | Photography |
| 4:3 | 1200 × 900 | General images |
| 16:9 | 1600 × 900 | Video thumbnails and banners |
| 9:16 | 1080 × 1920 | Vertical content |
These are examples, not mandatory dimensions. The right size depends on the layout where the image will appear.
How to Resize an Image Without Distortion
Step 1: Check the Original Dimensions
Before resizing, identify the image’s current width and height.
For example:
- Original width: 1600 pixels
- Original height: 1200 pixels
- Aspect ratio: 4:3
Keep these proportions in mind when choosing the new dimensions.
Step 2: Lock the Aspect Ratio
Use a resizing tool that preserves the aspect ratio.
When you change the width, the height should update proportionally. When you change the height, the width should adjust as well.
For example, reducing a 1600 × 1200 image to 800 pixels wide should produce a height of 600 pixels.
Step 3: Choose the Correct Resizing Method
There are two common ways to fit an image into a new layout.
Contain: The entire image remains visible, but empty space may appear around it if the target shape is different.
Cover: The image fills the target area, but some parts may be cropped.
Use contain when you need the complete image. Use cover when filling a fixed-size visual area is more important than showing every edge.
Step 4: Preview the Result
Check whether the subject remains proportionate and whether important parts have been cropped.
For product images, inspect the complete product. For portraits, check the face and body proportions. For banners, ensure the main subject remains visible.
Step 5: Save the Resized Image
Use the Image Resizer on The Awais Ali to resize your image if that is the tool’s current published URL. Confirm the canonical tool address before publishing this link.
Save the resized version separately so that you retain the original image.
Resizing vs Cropping: What’s the Difference?
Resizing changes the pixel dimensions of an image.
Cropping removes part of the image to create a different composition or aspect ratio.
For example, if you have a horizontal photograph and need a square profile image, you can crop it to a square rather than stretching it.
A good crop keeps the important subject visible and removes only the areas that are not needed.
Can Resizing Reduce Image Quality?
Yes, resizing can affect quality.
Making an image smaller usually reduces the amount of detail available because pixels are removed or resampled. Making a small image larger does not recreate the missing detail and can make it appear soft or pixelated.
Start with a high-quality original and avoid repeatedly resizing the same exported file.
If the resized image is still too large for your website, consider compressing it after choosing the correct dimensions. You can use the Image Compressor for that separate step.
Common Image Resizing Mistakes
- Changing width and height independently.
- Enlarging a small image too much.
- Cropping important parts of a product or person.
- Using one dimension for every placement on a website.
- Resizing an already compressed image repeatedly.
- Ignoring how the image appears on mobile screens.
Frequently Asked Questions
How do I resize an image without stretching it?
Keep the original aspect ratio locked while changing its dimensions. If the new layout has a different shape, use cropping or contain/cover behavior instead of stretching.
What happens if I change only the width of an image?
If the height adjusts proportionally, the image keeps its original shape. If the height remains fixed, the image may become distorted.
Is resizing the same as cropping?
No. Resizing changes the image’s dimensions, while cropping removes part of the image.
Does making an image larger reduce quality?
It can. Enlarging an image cannot restore detail that was not present in the original, so the result may appear blurry or pixelated.
What image size should I use for a website?
It depends on the image’s placement and the largest screen size it needs to support. Use dimensions suitable for the actual layout rather than one arbitrary size for every image.
Final Thoughts
A good resize preserves the image’s proportions and keeps the important subject visible.
Check the original dimensions, maintain the aspect ratio, choose between cropping and fitting, and inspect the final result before uploading it.
That simple workflow helps prevent distorted photographs and poorly presented website graphics.