How to Compress Images Without Losing Quality
A website can have excellent design, useful content, and well-written pages, yet still feel slow because its images are unnecessarily large.
A single photograph exported at several megabytes can add considerable weight to a page. Multiply that by a gallery of product images, blog illustrations, and banners, and visitors may have to wait longer than necessary for the page to load.
The solution is image compression. But reducing a file’s size is only half the job. You also need to preserve enough visual detail that the image remains useful.
This guide explains how to compress images without making them noticeably blurry, which formats to consider, and how to choose practical compression settings.
What Does Image Compression Actually Do?
Image compression reduces the amount of data needed to store an image.
There are two main approaches:
Lossless compression reduces file size without discarding the original image information. It is useful when preserving exact details matters, although the reduction may be limited.
Lossy compression reduces file size by removing or simplifying some image information. The amount of reduction depends on the image, format, and quality settings.
A photograph may tolerate some lossy compression without an obvious visual difference. A screenshot containing small text, however, can show artifacts much more easily.
How to Compress an Image Without Making It Blurry
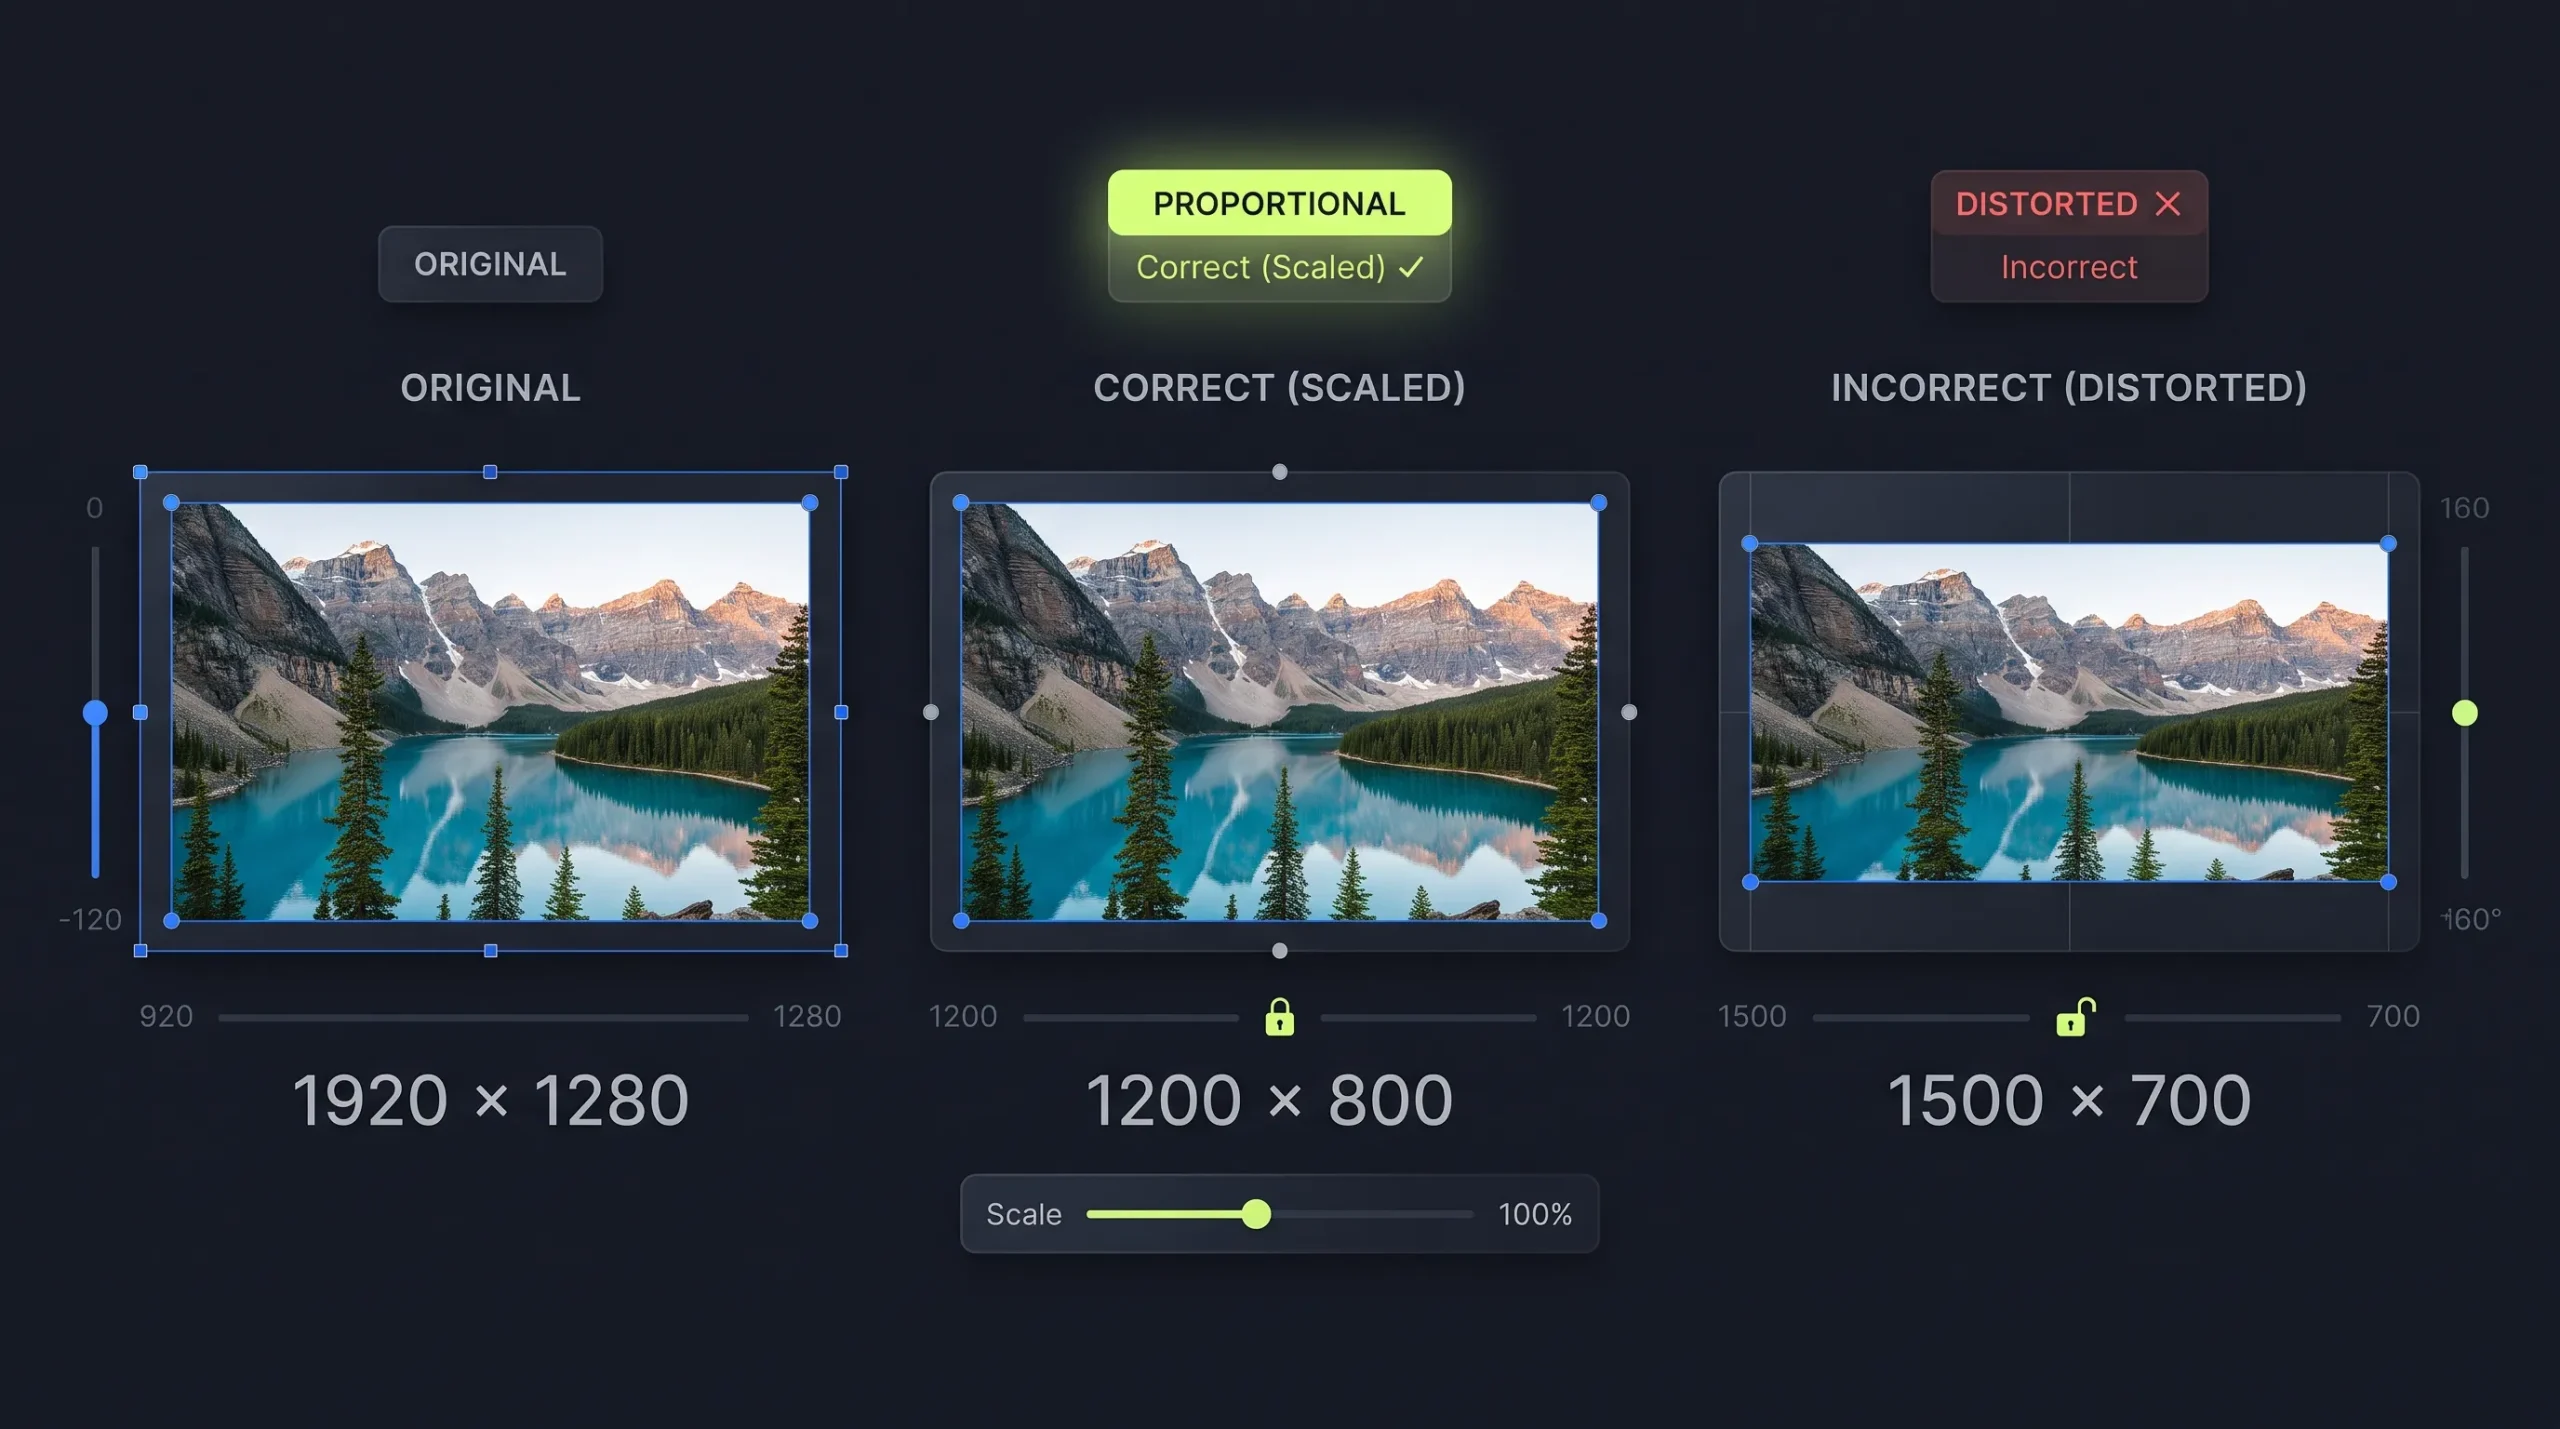
1. Start With the Correct Image Dimensions
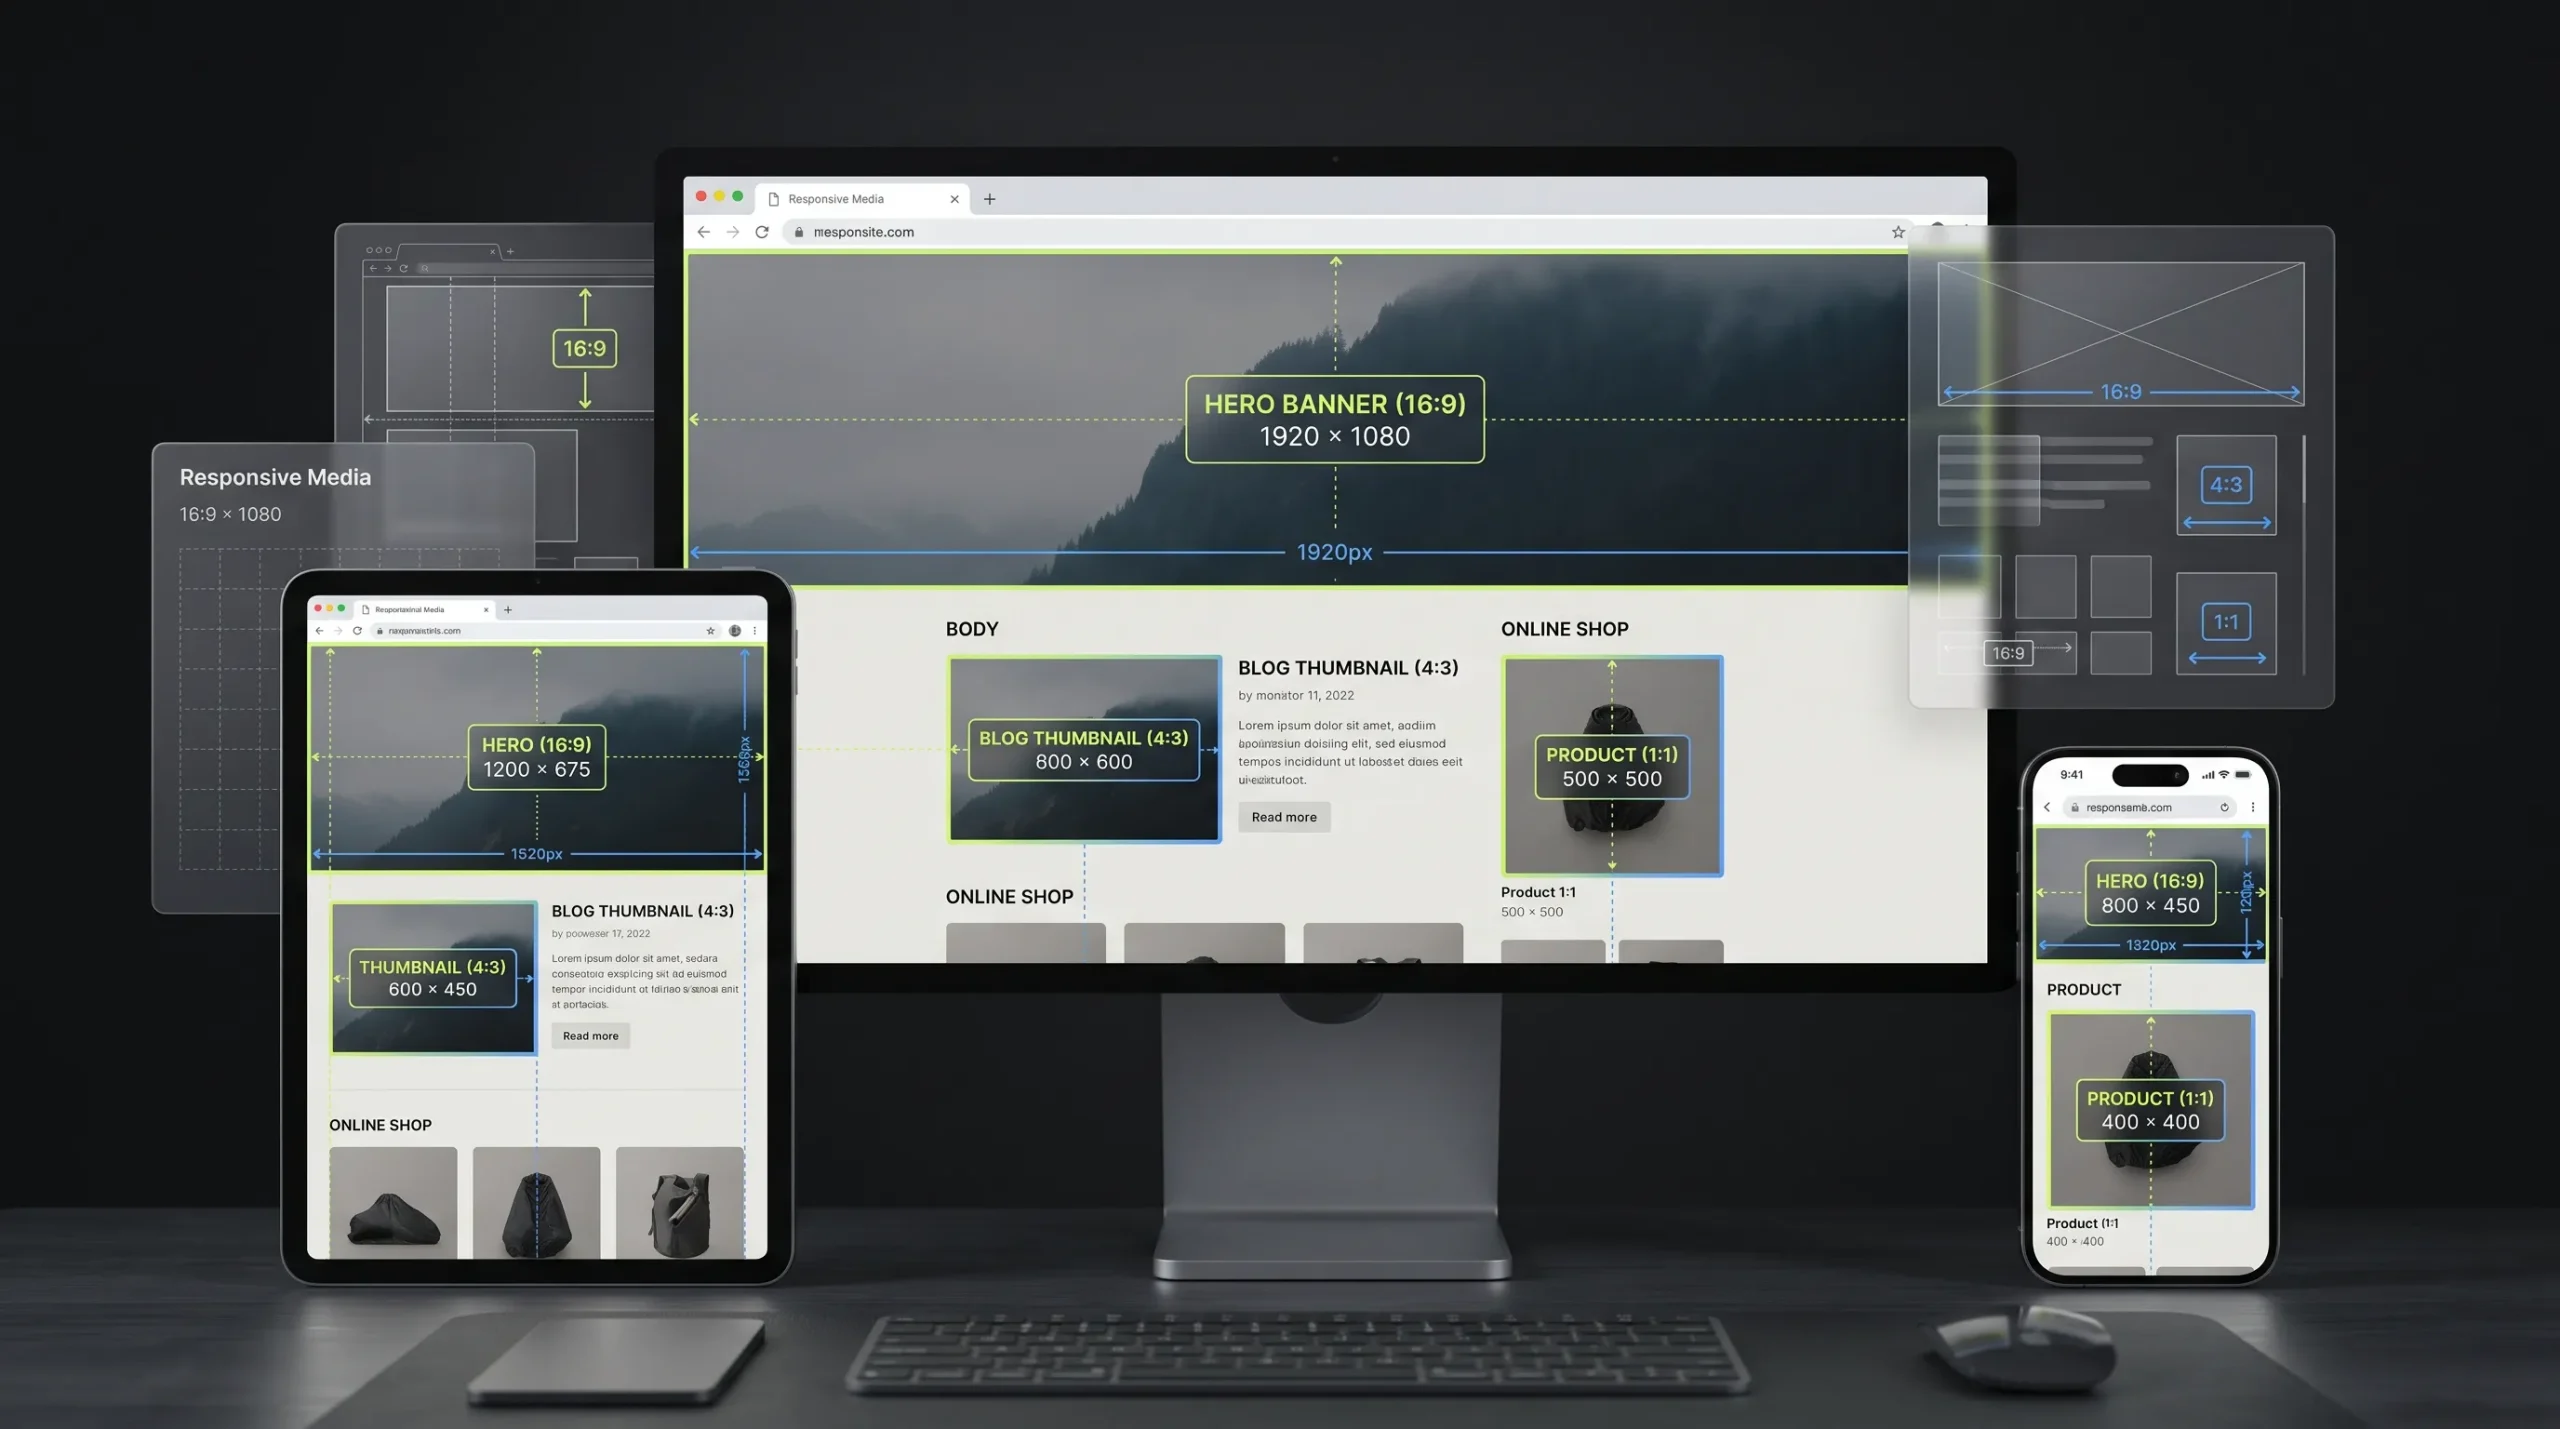
Don’t compress a huge image if the website only needs a smaller version.
For example, if a page displays an image at approximately 800 pixels wide, uploading a 4000-pixel-wide original may be unnecessary.
Resize the image to a suitable display size first, while keeping enough resolution for the largest expected screen or layout.
2. Choose the Right Format
Different formats suit different image types.
- JPEG is commonly used for photographs.
- PNG is useful for graphics requiring lossless quality or transparency.
- WebP supports lossy and lossless compression, including transparency.
For many website photographs, WebP is worth testing. For screenshots, logos, and graphics containing sharp text, compare the result carefully before replacing the original.
Google’s WebP documentation explains its compression capabilities and supported features.
3. Adjust Quality Gradually
Avoid immediately selecting the lowest available quality setting.
Start with a moderate compression level, preview the output, and compare it with the original. Look closely at faces, text, edges, gradients, and detailed patterns.
The best setting is not a universal number. It depends on the image and how large it will appear on the page.
4. Compare the Original and Compressed Versions
Check both images at the size visitors will actually see.
Look for:
- Blurry edges
- Visible blocks or compression artifacts
- Distorted text
- Color banding
- Unwanted changes to transparency
If the compressed version looks noticeably worse, increase the quality or try another format.
5. Use an Image Compressor
You can use the Image Compressor on The Awais Ali to reduce image file size.
Upload an image, choose an appropriate compression setting if available, and inspect the resulting file before using it on your website.
Always keep an original copy of important images.
Which Images Need Different Compression Settings?
A product photograph, a logo, and a user-interface screenshot should not automatically receive the same treatment.
Product photographs: These often work well with lossy compression, provided important details and textures remain clear.
Logos: Prefer a format and compression method that preserves clean edges and transparency. Keep vector originals when available.
Screenshots: Small text and interface details can become difficult to read after aggressive lossy compression. Use a lossless option where practical.
Blog featured images: Resize them to the actual layout requirements and test the result at desktop and mobile sizes.
How Much Should You Reduce an Image?
There is no reliable percentage that works for every image.
A photograph may shrink substantially with little visible change, while a detailed screenshot may show damage after a much smaller reduction.
Measure the actual file size before and after compression. For example, reducing a 2 MB image to 500 KB saves 1.5 MB, but the result should still be checked visually.
The goal is not to achieve the smallest possible file. It is to find a sensible balance between file size and visual quality.
Common Image Compression Mistakes
- Compressing an already small image repeatedly.
- Resizing an image to dimensions smaller than its actual display needs.
- Using JPEG when transparency is required.
- Applying aggressive compression to text-heavy screenshots.
- Uploading the original large image when a smaller version would work.
- Checking file size but never inspecting the final image.
Does Image Compression Improve Website Speed?
Smaller image files can reduce the amount of data a browser needs to download. This can help page loading, especially when images make up a large part of the page.
However, image compression alone does not guarantee a fast website. Hosting, caching, JavaScript, CSS, fonts, server response time, and other resources also affect performance.
Google’s image SEO guidance recommends balancing image quality with performance and using responsive image techniques where appropriate.
Frequently Asked Questions
How can I compress an image without losing quality?
Use lossless compression when exact image information must be preserved. For photographs, use moderate lossy compression and compare the output with the original before publishing.
What is the best image format for websites?
There is no single best format for every image. WebP is a strong option for many web images, while PNG, JPEG, and other formats remain useful for specific requirements.
Does compressing an image reduce its dimensions?
Not necessarily. Compression changes the amount of data used to store an image. Resizing changes its pixel dimensions. You can do either operation independently or combine them.
Why does my compressed image look blurry?
The compression may be too aggressive, the image may have been resized too much, or the selected format may not suit the content. Try a higher quality setting or another format.
Should I compress every image before uploading it to WordPress?
You should optimize images before uploading or use a reliable optimization workflow. The right process depends on your image dimensions, formats, and website requirements.
Final Thoughts
Good image compression is about making a file lighter without damaging the details visitors need to see.
Start with appropriate dimensions, select a suitable format, adjust compression gradually, and compare the final result. That process is more reliable than choosing the smallest possible file size.
If you have an image ready to optimize, try the Image Compressor on The Awais Ali.