How to Create an Invoice for Freelance Work
Finishing a freelance project is only part of the job. You also need to make sure your client knows exactly what work was completed, how much they owe, and when payment is expected.
That’s where an invoice comes in.
A professional freelance invoice helps you communicate payment details clearly, maintain financial records, and reduce misunderstandings with clients. Whether you’re a web developer, graphic designer, content writer, consultant, or virtual assistant, knowing how to create an invoice is an important part of running your freelance business.
In this guide, you’ll learn what a freelance invoice should contain, how to calculate the amount, how to create one step by step, and what mistakes to avoid.
What Is a Freelance Invoice?
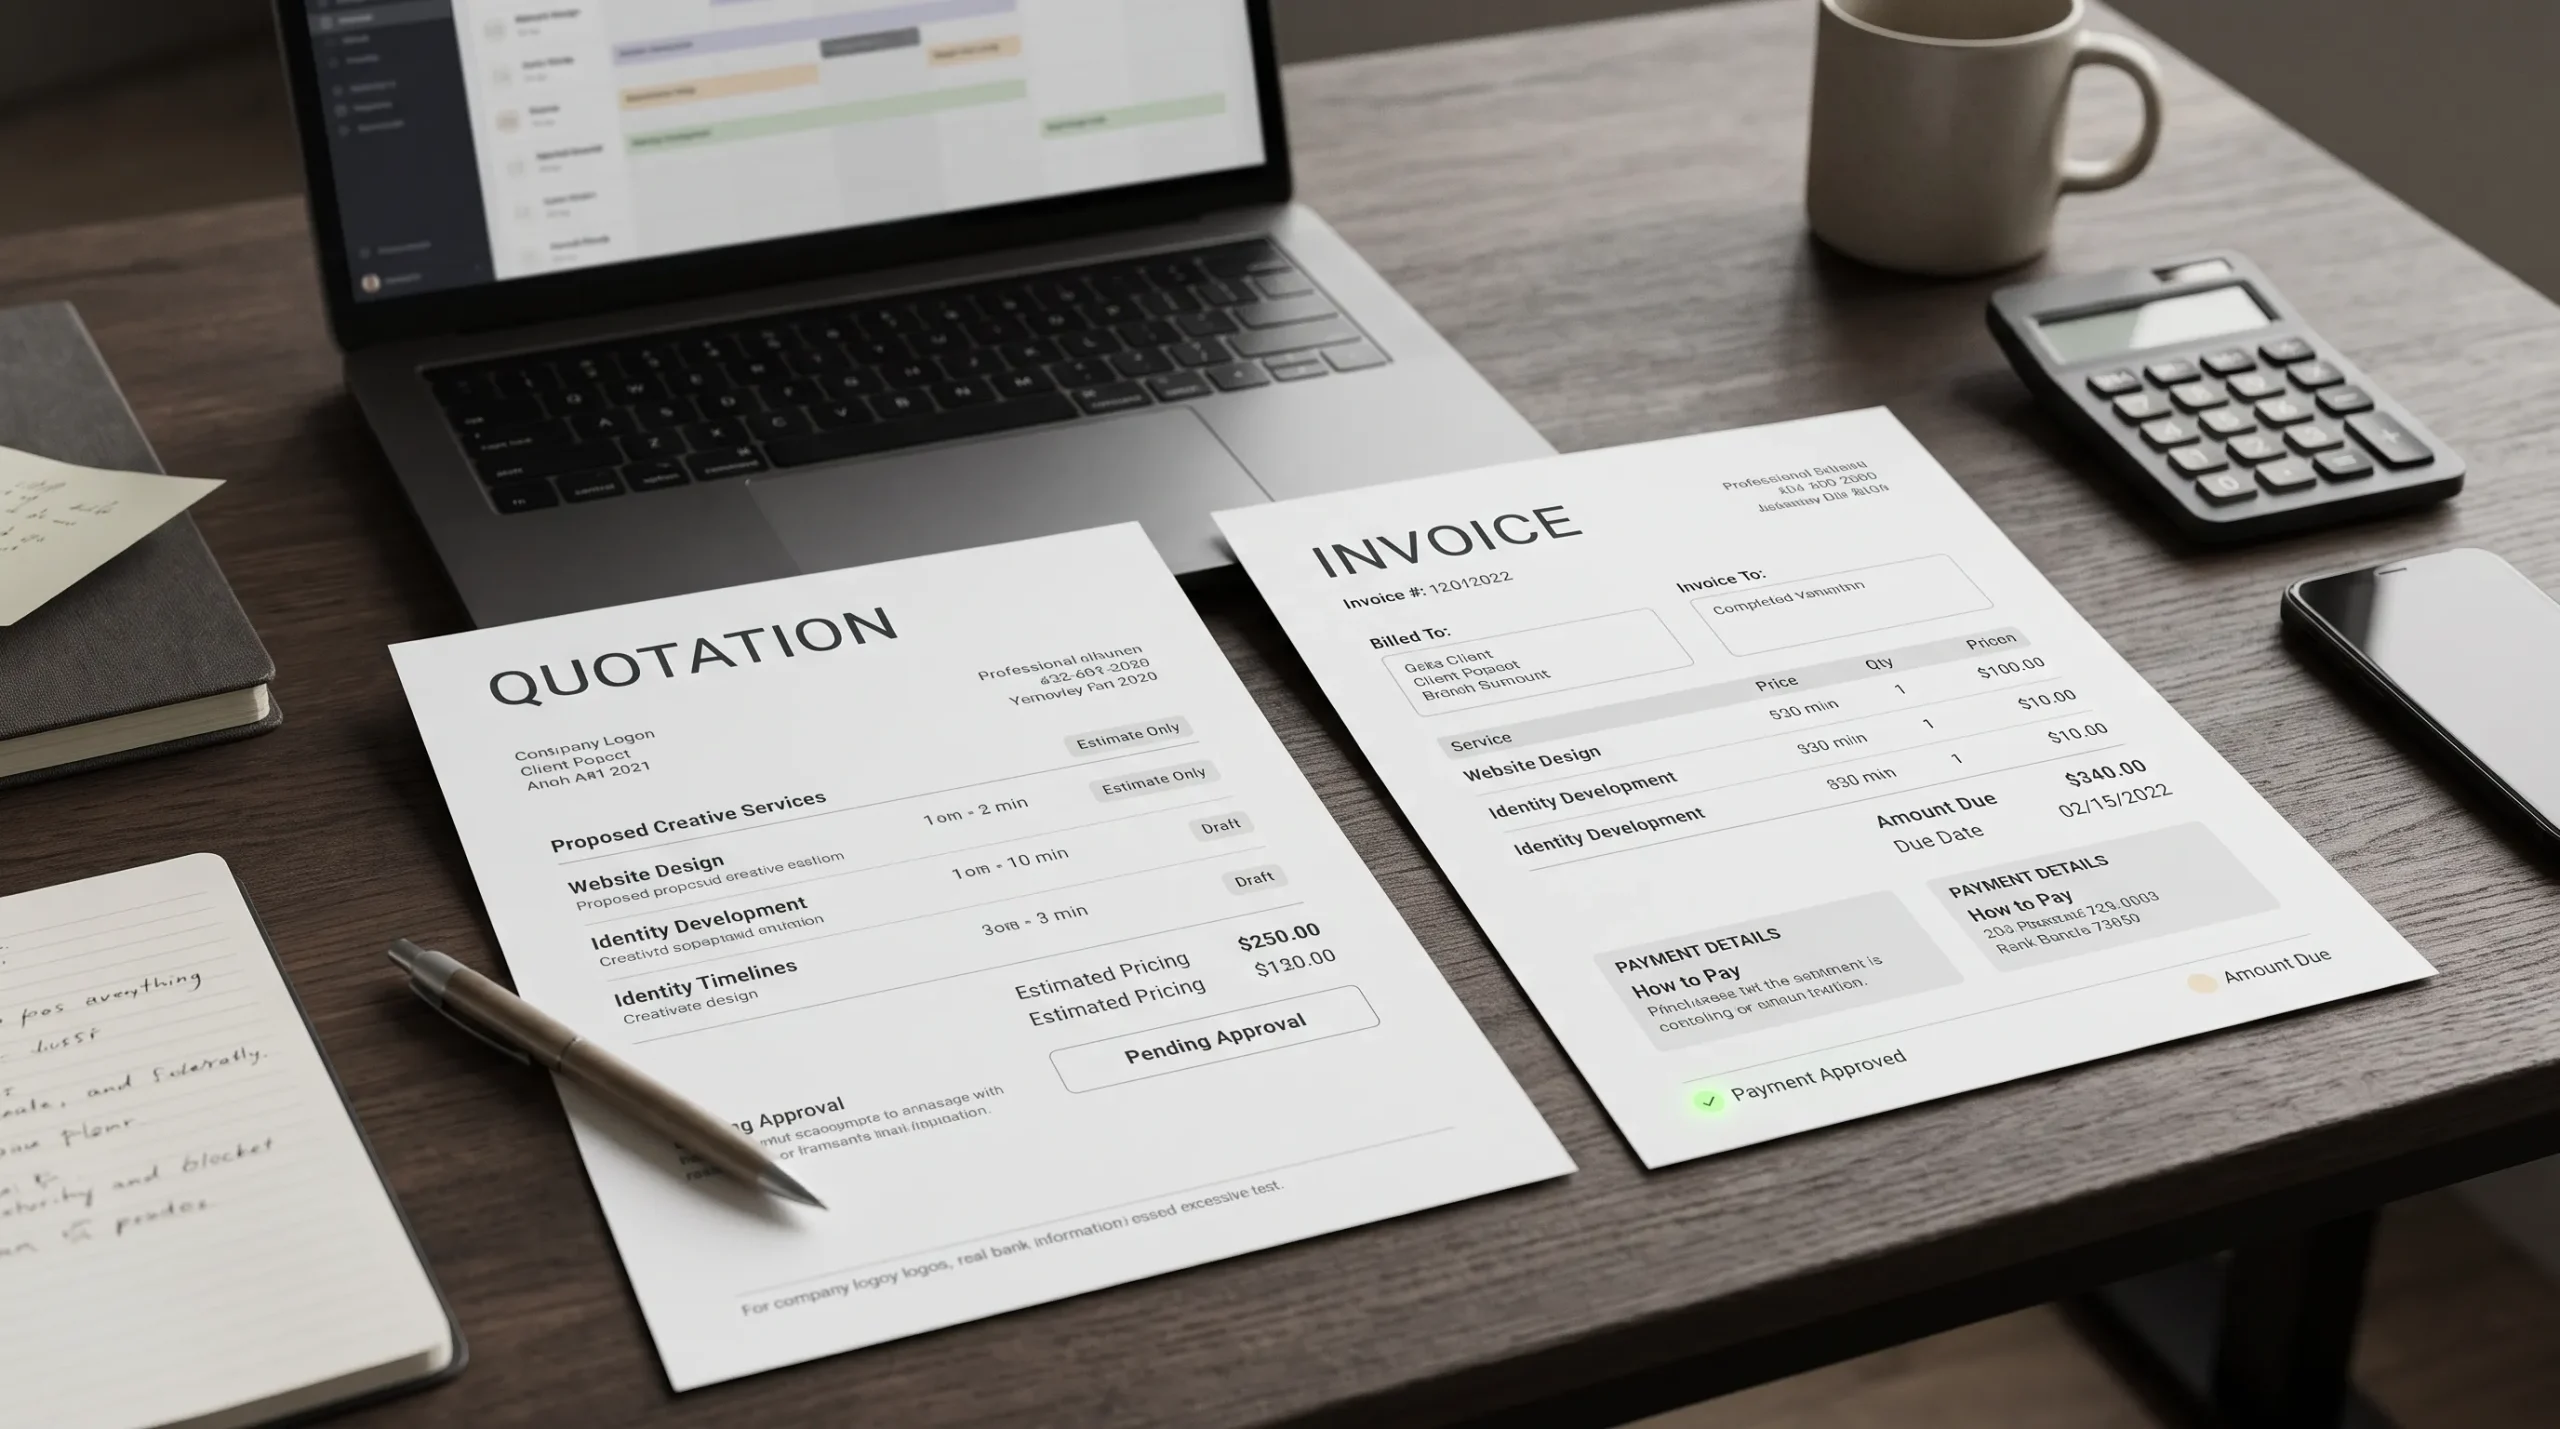
A freelance invoice is a document sent by an independent professional to a client requesting payment for completed work, services, or agreed project milestones.
It usually includes:
- Your name or business details
- Your client’s information
- A unique invoice number
- The invoice date
- A description of the services provided
- The amount charged
- Any applicable taxes or additional charges
- The total amount due
- Payment instructions
- The payment due date
An invoice provides a written record of what you are charging for. It also helps both parties keep track of payments and outstanding balances.
What Should a Freelance Invoice Include?
Before creating an invoice, make sure you understand which details are important. Missing information can create unnecessary questions and delay payment.
1. Your name and business information
Start with the details that identify you as the service provider.
Depending on how you operate, include:
- Your full name or registered business name
- Business address, if applicable
- Email address
- Phone number, if relevant
- Tax registration details, where required
If you’re working independently without a registered business, use the professional name and contact information you normally provide to clients.
2. Client information
Add the name of the person or company receiving the invoice.
For business clients, you may need to include:
- Company name
- Contact person’s name
- Billing address
- Relevant business or tax identification details, where applicable
Confirm the billing details with your client before sending the invoice. A small spelling mistake in a company name can sometimes create unnecessary administrative work.
3. Invoice number
Every invoice should have a unique reference number.
For example:
- INV-001
- INV-002
- INV-003
- 2026-001
A consistent numbering system makes it easier to find invoices and match payments with the correct client or project.
Avoid reusing invoice numbers. Keep your numbering sequence organized, even if you only send a few invoices each month.
4. Invoice date and payment due date
The invoice date tells the client when the invoice was issued.
The due date tells them when payment is expected.
For example:
- Invoice date: 3 November 2026
- Payment terms: 14 days
- Due date: 17 November 2026
Always agree on payment terms with your client before starting work. The appropriate payment period depends on your contract, client relationship, and business arrangement.
5. Description of services
This is one of the most important sections.
Don’t simply write “Development Work” or “Design Services” if you can provide more detail.
Instead, describe what you actually delivered.
For example:
| Description | Quantity | Rate | Amount |
|---|---|---|---|
| WordPress landing page development | 1 | $150 | $150 |
| Mobile responsiveness adjustments | 1 | $40 | $40 |
| Website contact form integration | 1 | $30 | $30 |
| Total | $220 |
This gives the client a clear breakdown of the services being billed.
For hourly projects, include the number of hours and your agreed hourly rate. For fixed-price projects, describe the deliverable or milestone covered by the invoice.
6. Total amount due
Show the financial breakdown clearly.
A typical invoice may include:
- Subtotal
- Discounts, if agreed
- Taxes, if applicable
- Other agreed charges
- Total amount due
Make sure the final calculation is correct. If you charge in a foreign currency, clearly identify the currency, such as USD, EUR, or GBP.
7. Payment methods and instructions
Don’t make your client guess how to pay you.
Mention the agreed payment method and provide the necessary instructions.
Depending on your location and client, this could include a bank transfer, an approved payment service, or another agreed method.
Only include payment details that are appropriate for the client and safe to share.
8. Additional notes
You can use the notes section for useful information, such as:
- Project reference
- Milestone covered
- Purchase order number
- A short thank-you message
- Agreed payment conditions
Keep this section brief and relevant.
How to Create an Invoice for Freelance Work Step by Step
You don’t need complicated accounting software to create a basic invoice. A document, spreadsheet, or invoice generator can work, depending on your needs.
Follow these steps.
Step 1: Collect the necessary information
Before creating the invoice, gather:
- Your billing details
- Client’s billing details
- Project or service description
- Agreed price
- Invoice date
- Payment deadline
- Payment instructions
Having everything ready makes the process quicker and reduces errors.
Step 2: Choose an invoice format
You can create an invoice using a spreadsheet, document editor, accounting application, or online invoice generator.
Choose a format that allows you to present information clearly and save a copy for your records.
If you invoice clients regularly, using a consistent template can save time.
Step 3: Add your invoice number
Assign a unique number to the invoice.
A simple numbering system is usually enough for an individual freelancer. If your business grows, you can organize invoices by year, client, or project.
Step 4: Add services and prices
List each service separately when it helps explain the charges.
Include the quantity, rate, and line total.
For example:
- Website design: $200
- Website development: $350
- Testing and revisions: $50
Subtotal: $600
The figures above are illustrative. Use the prices agreed with your client.
Step 5: Calculate the final amount
Add the line items and include any agreed discounts, taxes, or additional charges.
For example:
| Item | Amount |
|---|---|
| Website design | $200 |
| Website development | $350 |
| Testing and revisions | $50 |
| Subtotal | $600 |
| Discount | $0 |
| Tax | $0 |
| Total due | $600 |
Tax treatment depends on your location and circumstances. Check the rules that apply to your business rather than assuming every invoice requires the same tax treatment.
Step 6: Add payment terms
Specify the agreed due date and payment method.
If you require an advance payment or charge by project milestones, explain that clearly.
Step 7: Review and send the invoice
Before sending, check:
- Client name and billing details
- Invoice number
- Invoice date
- Service descriptions
- Calculations
- Currency
- Payment instructions
- Due date
Save a copy of the final invoice and send it using the communication channel agreed with your client.
Freelance Invoice Example
Here is a simple example of what a freelance invoice might look like.
INVOICE
From:
Alex Web Services
alex@example.com
Lahore, Pakistan
Bill To:
Example Digital Ltd.
London, United Kingdom
Invoice Number: INV-2026-001
Invoice Date: 3 November 2026
Due Date: 17 November 2026
| Description | Amount |
|---|---|
| Website development | $350 |
| Responsive design adjustments | $75 |
| Contact form integration | $25 |
| Total due | $450 |
Payment Method: As agreed with the client
Notes: Thank you for your business.
This is a simplified illustrative example, not a universal legal invoice format. Adapt the fields to your business, client requirements, and applicable tax rules.
Common Freelance Invoice Mistakes to Avoid
Even a well-designed invoice can cause problems if important details are missing.
Using vague service descriptions
A description such as “Freelance work” doesn’t explain what the client is paying for.
Use clear descriptions that connect the charge to the actual work or project milestone.
Forgetting the due date
If you don’t specify when payment is expected, the client may not know your payment deadline.
Agree on the payment terms in advance and include the due date on the invoice.
Sending invoices without checking calculations
A wrong total can create confusion and damage trust.
Review each line item and the final amount before sending the document.
Reusing invoice numbers
Duplicate numbers make financial records harder to organize.
Maintain a simple sequence and assign a new number to every invoice.
Not keeping invoice records
Don’t rely only on emails or messages to remember what you billed.
Save copies of invoices, payment confirmations, and relevant project records in an organized location.
Changing payment terms without agreement
Avoid adding unexpected charges or changing agreed payment deadlines after the work has been completed.
Discuss pricing, additional work, and payment conditions with the client before billing.
Tips for Getting Paid Faster as a Freelancer
A professional invoice is useful, but your invoicing process also matters.
Here are some practical ways to reduce payment delays.
Agree on payment terms before starting
Discuss the price, payment schedule, and deliverables before beginning a project.
For larger projects, consider using agreed milestones instead of waiting until the entire project is complete.
Send invoices promptly
Don’t wait several weeks after completing a project to send your invoice.
Issue it according to the agreed billing schedule.
Make payment instructions clear
A client should not need to contact you just to ask where to send the payment.
Include the agreed payment details and currency.
Follow up professionally
If the due date passes without payment, send a polite reminder.
Keep the message short, include the invoice number, and attach the original invoice if necessary.
Maintain organized records
Track which invoices are paid, unpaid, or overdue.
A simple spreadsheet can work when you have a small number of clients. As your workload grows, you may benefit from dedicated invoicing or accounting software.
Frequently Asked Questions
How do I create an invoice as a freelancer?
Collect your client and billing details, assign a unique invoice number, describe the services provided, calculate the amount due, add payment instructions, and send the completed invoice.
Can I make a freelance invoice without a registered business?
In many situations, independent professionals can issue invoices using their own name and relevant billing information. However, registration, tax, and invoicing requirements vary by country and business activity. Check the rules that apply to you.
Should freelancers charge tax on invoices?
It depends on your jurisdiction, registration status, type of service, and applicable tax rules. Don’t automatically add a tax amount without confirming whether it applies to your situation.
What is the best format for a freelance invoice?
PDF is commonly used for sending finalized invoices because it preserves the document’s layout across devices. Keep an editable copy in your preferred document or invoicing system for future reference.
How many days should a freelance invoice be due?
There is no single payment period that applies to every freelancer. Common arrangements include immediate payment, 7-day terms, 14-day terms, or 30-day terms. Agree on the deadline with your client before starting work.
Can I send an invoice before completing a project?
Yes, if the arrangement allows advance payments, deposits, retainers, or milestone billing. Clearly state what the invoice covers so the client understands the payment request.
Final Thoughts
Creating an invoice is not just about asking a client to pay. It’s about keeping your freelance business organized and making the payment process clear for both sides.
A good freelance invoice identifies the work, explains the charges, provides payment instructions, and records the amount due.
Start with a consistent template, use unique invoice numbers, check every calculation, and save a copy of every invoice you send.
When your invoicing process is clear and organized, you spend less time dealing with payment confusion and more time focusing on your actual work.